Car Wheel Bearings - Mick's Tips 424


|
|
Getting wheel bearings right - not too tricky, but important
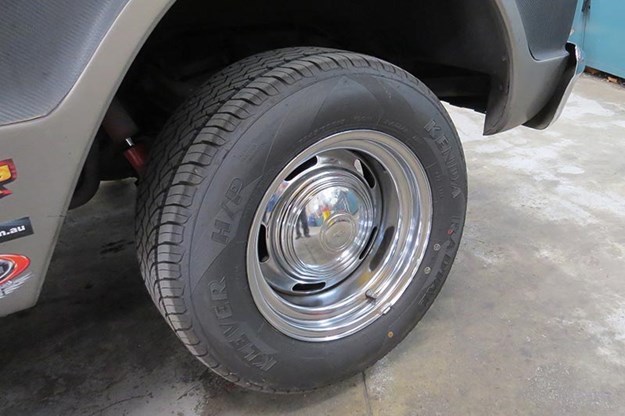
About mid last year we had a look at the issue of wheel bearings and now seems as good a time as any for a bit of an update. You see the Editor of this fine family publication wandered in with the magazine’s C10 Chev, complaining about a loose wheel bearing and a couple of other issues. The loose bearing came to light when he got some new front tyres fitted recently.
It’s probably close to two years since we’ve seen the truck, which is too long. The Ed pleads a chaotic schedule and I know he doesn’t have a hoist at home, which means working on the lowered monster can be a bit of an issue.
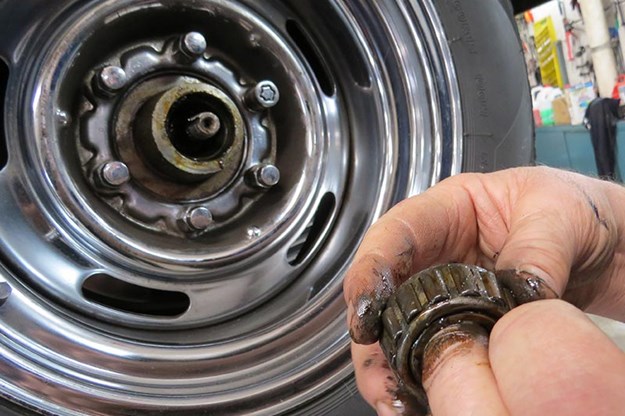
No matter, we popped the hubcap, half expecting to dig out a damaged bearing. However it seems he had the sense to avoid driving the thing until we got to check it out. It turns out things were actually in pretty good shape, though it was very loose. You could grab the front right wheel and it would move alarmingly with not much effort.
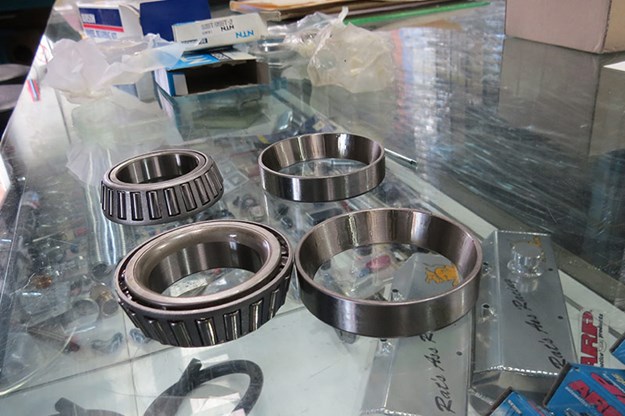
No problem, pull out the bearing and check it over. It’s a tapered or Timken type, and there was no scoring on it or race. Everything moved freely and there was still grease in the bearing – all good.
I regreased it with one of my favourite tools – a bearing packer. While we were all taught to pack bearings by hand, this gadget is quicker and means you don’t get covered in goop. It’s simply a couple of cones that screw together with the bearing in the centre, then you hook up the grease gun and pump away. You can get one for all of 10 bucks or so at the local parts store.
How much grease? It’s like Nanna making a pot of tea – one for each cup and one for the pot. So I pump till it’s full to just overflowing, then once more to be sure.
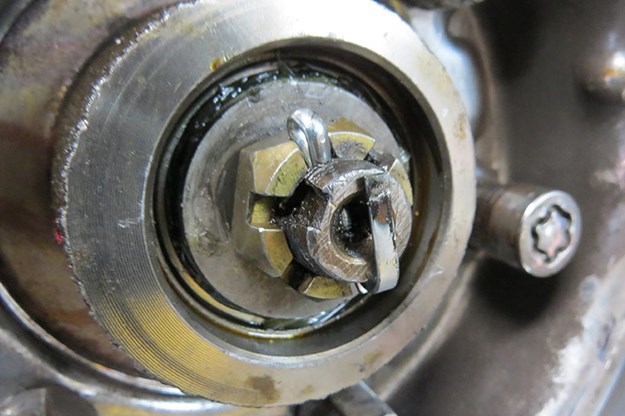
With the bearing back in place, we need to torque up the assembly. There is a torque specification, but you can do it by feel. With a tapered bearing, too loose is just as bad as too tight. So, in goes the thrust washer over the top of the bearing. Then on with the castellated nut.
With your spanner, you preload the bearing. So you’re tightening it down gently until you feel it stop. Now you back it off and tighten it again – do this multiple times. You might do this up to eight or nine times as the bearing settles into its cone. One the position seems fixed, you back off the nut the equivalent of one of its six sides. That will work nicely and you then make sure you use a fresh split pin – even if it means making a special trip to the auto parts store to get some – as having everything tied down is ultra-critical.

It’s a pretty quick and easy job – particularly if you have a hoist! I reckon you should check out your bearings once a year.
Note: Mick runs Glenlyon Motors in Brunswick, Vic.
Tel (03) 9380 5082.
Classic Australian Family Car Value Guide home page
Muscle Car Value Guide home page
Japanese Classic Car Value Guide home page
Unique Cars magazine Value Guides
Sell your car for free right here
.jpg)
Get your monthly fix of news, reviews and stories on the greatest cars and minds in the automotive world.
Subscribe