Project Challenger restoration - part 3


|
|
|
|
|
|
|
|
|
|
|
|
|
|
|
|
|
|
|
|
|
|
|
|
Piece by piece Project Challenger is coming together
In a former life, I might have taken to the offending item with a hammer or crowbar, but these days I’m finding I’m handling the inevitable frustrations of mechanical tinkering much better. Instead of smashing the miscreant bracket or immovable bolt into a mangled, twisted piece of shrapnel, I’m much more likely to sit back, take a deep breath and consider the situation. Sort of like channeling my inner Dalai Lama.
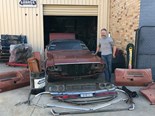
 One look shows the depth of the project
The same goes for my attitude to the original engineers who might have designed the widget I’ve been spending the last two frustrating hours futilely trying to extricate from the tiny space that they made for it. Despite the fact that I may have had to employ a circus midget to squeeze into the miniscule margin to recover the part, and instead of thinking murderous thoughts about what I might do to the offending engineer if I could just fly to the US, track them down, book a nearby dungeon and then vent my disappointment at how their incompetence had ruined my day while applying various mechanical and electrical devices to their anatomy, I find I’m more inclined to try and see it from their perspective. Up to a point.
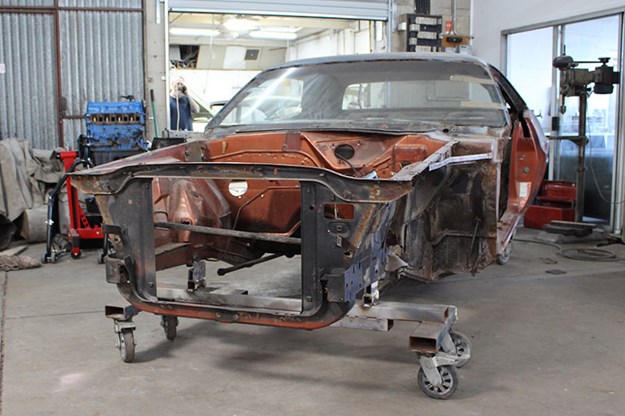 She’s a roller, well sort of
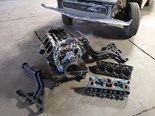
"Hmmm, I guess the reason the Dodge engineers designed the window winding assembly like that, using 1208 different parts and 32 different fasteners, requiring four special tools – two only available from NASA and both currently on back order – and cramming it into a space so tight that not even oxygen could penetrate is because they were hungover and legally not entitled to even be at work. Or maybe they were just clinically insane. Poor buggers. Well, I’ll just have to deal with it and find a way of removing it from the door without using an IED."
| Read next: 1970 Dodge Challenger Reader Resto
 The next best thing to a sunroof... Years under a vinyl cover have taken their toll on the roof
I guess it all comes with maturity, mixed with a certain amount of resignation that life, and in this case, mechanical repair and restoration, wasn’t meant to be easy – or even fair.
But speaking of being fair, my new more reasonable self has actually enjoyed the vast majority of the Project Mongrel experience so far and I put a lot of that down to the fact that by 1970 automotive engineers had realised that not only would people buy and drive their cars, but that they’d also need to work on them from time to time. And if a part could only be accessed by smothering oneself in personal lubricant and squeezing one’s entire body into the inaccessible recess via the glovebox, well there was a chance that a certain proportion of the frustration and anger that followed might eventually be directed at them. And in a very personal and unpleasant way, if their addresses ever became known.
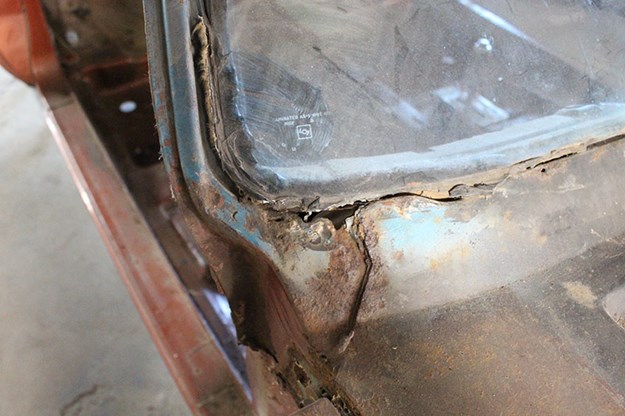 Totally watertight OEM seals
So for the vast majority of the effort that has gone into breaking Project Mongrel down to its sub atomic particles, I’ve enjoyed the experience. From an automotive point of view, life was a lot simpler in 1970, so the disassembly has been largely straight forward (save for the offending window winder assembly).
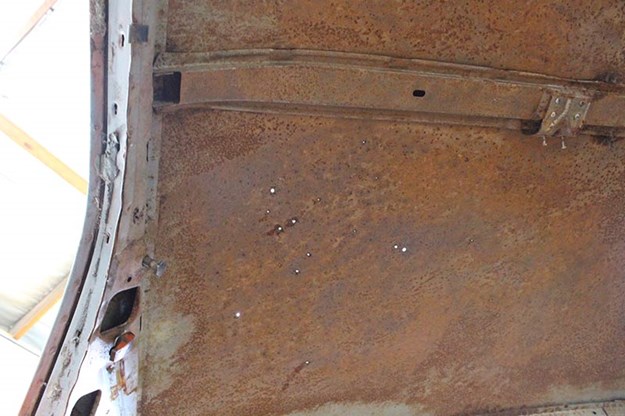
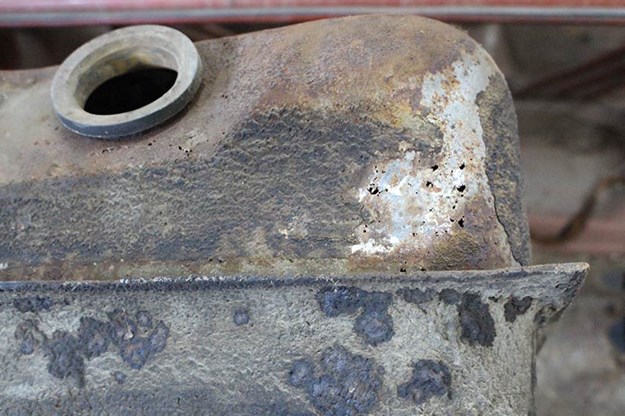 Tank ventilation taken to extremes...
The flipside of the process, as in reassembly, is likely to be an entirely different kettle of fish. As I survey the pile of rusted and worn parts that were once a 1970 Dodge Challenger SE, I’m resigned to the fact there is hardly a part or assembly that is likely to fit back together as easily as it was dismantled. While we’ve taken a fair amount of care to ensure stuff has been photographed, labelled and categorised, there is still likely to be occasional bad language and other theatrics.
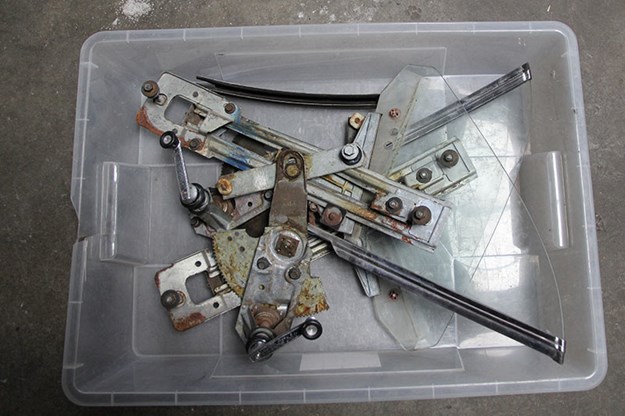 This is what it takes to open a quarter window on a 1970 Challenger
In fact, I’m thinking of selling tickets to the window reassembly. Perhaps we’d open with a string quartet, some canapes and drinks and a brief outline of the evening’s entertainment, followed by the main act. I’d appear smiling in my overalls with a box full of parts, to polite applause from the audience. Then we’d wheel in the engineer responsible for the original design of the apparatus. In fairness, they’d be given a brief opportunity to explain themselves before being fastened to a chair and gagged for dramatic effect. Prior to commencing reassembly, they’d be raised off the stage and perched over a vat of fuming sulphuric acid.

A big clock would count down as I attempted to restore the window assembly to its original location on the car using the factory manual and in the time allotted by the engineers. Wild applause would indicate that I’d achieved the task in time. If not, a splash and a bit of thrashing about. I guess some old habits die hard.
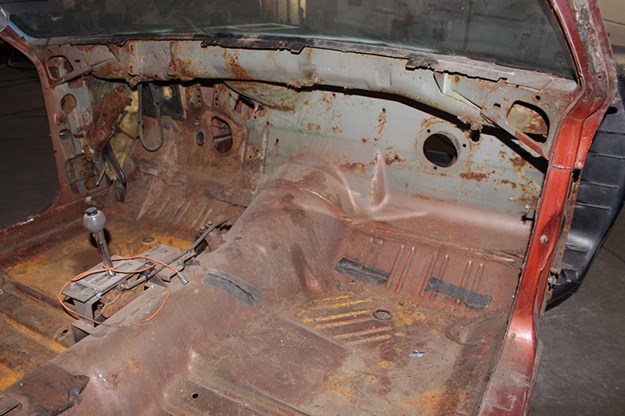 The bare cockpit ready for metal TLC
The story to date:
Unique Cars magazine Value Guides
Sell your car for free right here
.jpg)
Get your monthly fix of news, reviews and stories on the greatest cars and minds in the automotive world.
Subscribe


.jpg)