Project Challenger build - part six


|
|
Welcome to Wayne's world, where ageing, cracked and scarred interiors can be miraculously reborn
Mopar build - part six
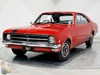
My initial impression of the ’70 Challenger that is now Project Challenger was that it had fallen on hard times. Or to be more precise, it had fallen from a great height after having been dragged through a boulder-strewn minefield and then been used for hillbilly target practice. There were dents, rust and holes everywhere – even the holes had holes – but somewhere in my mind a spark ignited. Where my eyes saw mechanical carnage, my brain crafted visions of an iconic muscle car reborn.
It was just going to take a little time and effort to achieve my lofty goal of bringing a dilapidated 1970 Dodge Challenger SE back to somewhere near its former glory.
But the years had wrought their toll on more than just the exterior. Once we’d emptied the insides of all the spare parts and other debris that had been stuffed into it, the full extent of its decay was revealed. The seats were total crap, the dash was doomed and all the inner panels had obviously provided sustenance and housing for numerous forms of wildlife. I swear I will carry the stench to my grave.
Adding even more insult to the injury, every panel showed evidence of the sort of damage you’d expect if a vehicle had become home to a voracious army of vermin and rodents. There were bite marks, fight marks, scratches, stains, cigarette burns and cracks pretty much everywhere.
Even the colour was offensive – a sort of diarrhoea brown that was smeared on all the panels and upholstery.
Initially, I was thinking I’d just go straight to the internet and source aftermarket replacement stuff from the US. But then a mate suggested I contact Wayne Niven, who specialises in bringing deceased interiors, upholstery and trim components back from the dead. He’s worked on everything from vintage racers to late model luxury cars, and even helicopters, and his specialty is returning surfaces to at least as good as new.
| Reader Resto: 1970 Dodge Challenger
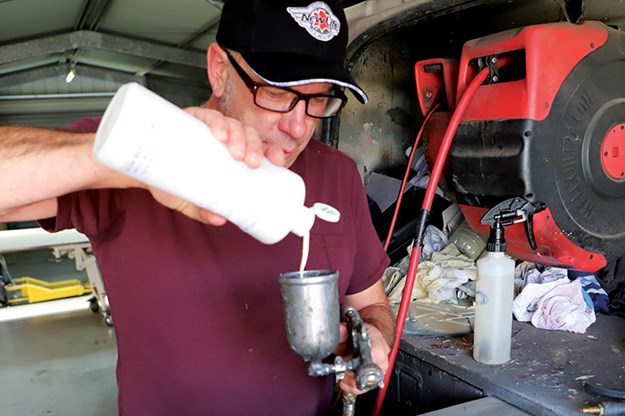
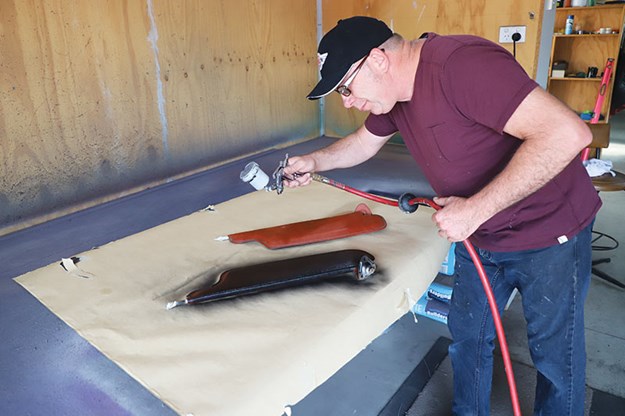
Wayne mixes up his home brew to restore the interior panels
In the case of the seats, they were well and truly stuffed, but once Wayne inspected the sorry state of affairs of the rest of the interior hard panels he advised that he was up to the Challenger, so to speak. Game on.
It’s always good to know that you’ve got someone working on your stuff that ‘gets it’, and Wayne is a prime example. He’s a petrolhead through and through, having owned and restored everything from early MGs, to a host of Holdens, a couple of Chevys and even an early ‘50s Packard. So he’s sympathetic when it comes to breathing life back into old stuff.
Wayne is one of those blokes who has not only learned a thing of two about repairing and restoring old car interiors – he’s also invented a few techniques of his own. There are virtually no interior items that he can’t apply his skills to with the aim of bringing them back to as near to factory as possible.
"A lot of the older stuff you just can’t get anymore, so I’ve had to develop techniques that restore surfaces to as good as new to the point where owners can’t tell the difference," he explains.
| 2019 Market Review: Dodge Dart/Challenger/Viper/Ram SRT 10
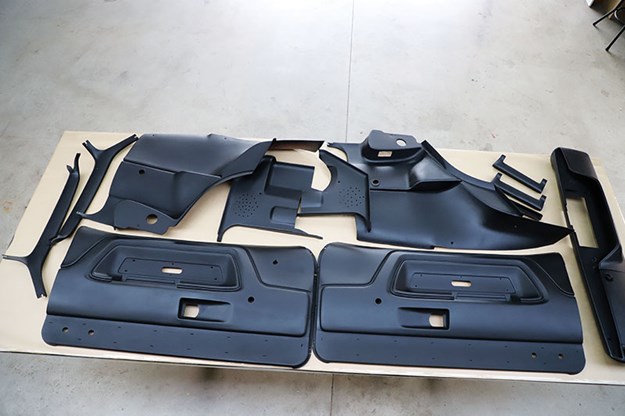
Refurbished interior panels now ready for refitting
On the Challenger, though, 50 years of wear, tear, misuse and abuse ensured Wayne had his work cut out. We had bent, broken, scuffed and scratched door and rear side panels and armrests. The centre console was broken and the sun visors were faded and worn. There was also the issue of that bilious brown everywhere. I know mind-altering substances were in pretty common use back in the ‘70s, but anyone ticking that particular options box should not have been allowed out in public, let alone on the roads.
To be honest, I had serious doubts about whether any of the interior was salvageable, but Wayne assured me there was hope.
My son, Jack and I had already decided on a very tasty matte black and purple theme throughout Project Challenger. Sort of The Dark Knight meets Little Shop of Horrors. We’d never intended to go the resto route – this car is going to exude attitude, with a bit of mongrel here and there and enough nasty to scare old ladies and small children.
As Wayne explained, the first part of the process involves identifying the type of plastic or vinyl he’s working with and then deciding on the best course of action, especially if cracks or splits need repairing. There are a few options here, including plastic welding and hot metal stapling.
The inner door liners were a good example of what’s possible in Wayne’s world.
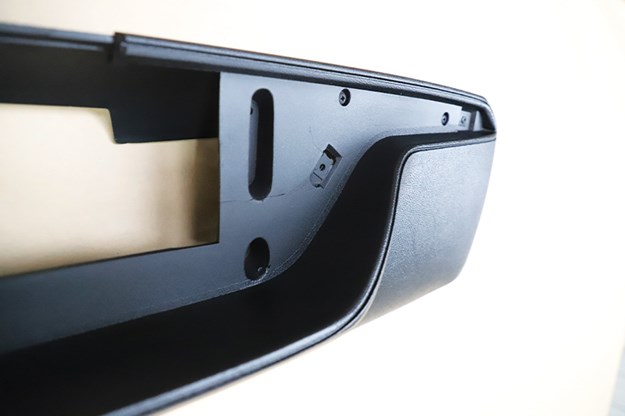
Looking as good as a new one fresh from the factory
"The Dodge liners are polypropylene, which was common on older American cars, so it’s pretty easy to weld if anything’s broken or split," he said. "But the surface had deteriorated a fair bit, so as I sanded back the old damaged areas it pretty much turned to dust. Some areas were getting pretty thin so I had to be careful to leave enough material to work with."
Since the liner surface had a mottled, faux-leather texture, after cleaning with alcohol, Wayne mixed up a special concoction that he carefully sprayed on to restore the look and feel. It can take a couple of passes with the spray gun before he’s happy with the overall finish, but in the case of Project Challenger I have to say I was very pleased with the outcome.
Likewise, the centre console, which had some serious structural issues that Wayne fixed with some hot-stapling, along with cleaning up the battered and bruised surface.
There were also some scarlet red carpet insets in the door panels that added a certain ’70s Tijuana brothel ambience, but using special black stain Wayne was able to restore some semblance of respectability.
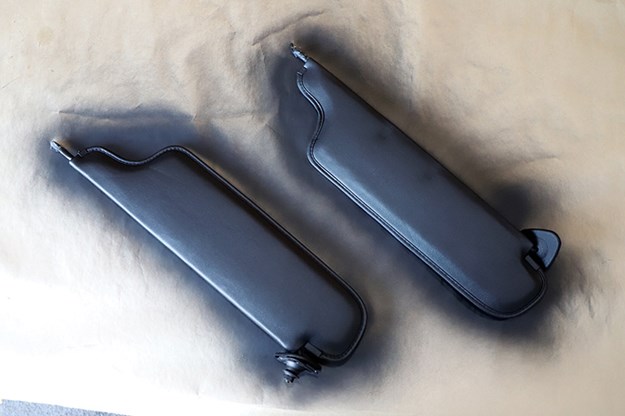
Hey presto, like new again
Colour-matching can be a critical part of the process, especially when trying to match parts in older vehicles. Over the years, Wayne has developed a fine eye for blending age-worn surfaces so they look authentic.
He is also able to perform his reno-magic in-situ and can rejuvenate that ripped leather steering wheel cover, torn seat back, frayed carpet or pretty much any other part of the interior while it’s still in the car.
I’m happy to report that because of Wayne’s efforts, I won’t have to scour the internet for replacement parts that often don’t fit that well and can inflict severe pain on the wallet nerve due to the exchange rate. I’ve ended up with a bunch of parts that look about as close to new as they can get and I can’t wait to get ‘em back in the car.
Wayne is obviously a craftsman who takes a great deal of pride in his work. "It’s all about managing customer expectations to ensure they have a realistic idea of what’s possible," he says.
He’s based in Melbourne, but is happy to have customers send him parts to work on.
Find out for yourself by calling Wayne Niven on 0412 357 109.
Read more:
- Project Challenger - part five
- Project Challenger - part four
- Project Challenger - part three
- Project Challenger - part two
- Project Challenger - part one
From Unique Cars #445, Oct 2020
Unique Cars magazine Value Guides
Sell your car for free right here
.jpg)
Get your monthly fix of news, reviews and stories on the greatest cars and minds in the automotive world.
Subscribe

.jpg)


.JPG)