Falcon GT-HO Phase III Project - building an engine
 Porject Falcon GT-HO - building an engine
 Porject Falcon GT-HO - building an engine

 Porject Falcon GT-HO - building an engine
 Porject Falcon GT-HO - building an engine

 Porject Falcon GT-HO - building an engine
 Porject Falcon GT-HO - building an engine

 Porject Falcon GT-HO - building an engine

 Porject Falcon GT-HO - building an engine

 Porject Falcon GT-HO - building an engine

 Porject Falcon GT-HO - building an engine

 Porject Falcon GT-HO - building an engine

 Porject Falcon GT-HO - building an engine
 Porject Falcon GT-HO - building an engine

 Porject Falcon GT-HO - building an engine
 Porject Falcon GT-HO - building an engine
 Porject Falcon GT-HO - building an engine
 Porject Falcon GT-HO - building an engine

 Porject Falcon GT-HO - building an engine

 Porject Falcon GT-HO - building an engine
 Porject Falcon GT-HO - building an engine
 Porject Falcon GT-HO - building an engine

 Porject Falcon GT-HO - building an engine

 Porject Falcon GT-HO - building an engine

 Porject Falcon GT-HO - building an engine
 Porject Falcon GT-HO - building an engine
 Porject Falcon GT-HO - building an engine
|
|
|
Porject Falcon GT-HO - building an engine
|
|
|
|
Porject Falcon GT-HO - building an engine
|
|
|
|
Porject Falcon GT-HO - building an engine
|
|
|
|
Porject Falcon GT-HO - building an engine
|
|
|
|
Porject Falcon GT-HO - building an engine
|
|
|
|
Porject Falcon GT-HO - building an engine
|
|
|
|
Porject Falcon GT-HO - building an engine
|
|
|
|
Porject Falcon GT-HO - building an engine
|
|
|
|
Porject Falcon GT-HO - building an engine
|
|
|
|
Porject Falcon GT-HO - building an engine
|
|
|
|
Porject Falcon GT-HO - building an engine
|
|
|
|
Porject Falcon GT-HO - building an engine
|
|
|
|
Porject Falcon GT-HO - building an engine
|
|
|
|
Porject Falcon GT-HO - building an engine
|
|
|
|
Porject Falcon GT-HO - building an engine
|
|
|
|
Porject Falcon GT-HO - building an engine
|
|
|
|
Porject Falcon GT-HO - building an engine
|
|
|
|
Porject Falcon GT-HO - building an engine
|
|
|
|
Porject Falcon GT-HO - building an engine
|
|
|
|
Porject Falcon GT-HO - building an engine
|
|
|
|
Porject Falcon GT-HO - building an engine
|
|
|
|
Porject Falcon GT-HO - building an engine
|
|
|
|
Porject Falcon GT-HO - building an engine
|
|
|
|
Porject Falcon GT-HO - building an engine
|
|
|
|
Porject Falcon GT-HO - building an engine
|
|
|
|
Porject Falcon GT-HO - building an engine
|
Join us on the hunt for grunt
|
|
Porject Falcon GT-HO - building an engine
|
Falcon GT-HO Phase III Project - Engine
The mighty Cleveland comes to life on the dyno as we go in search of serious horsepower for our new giveaway car...
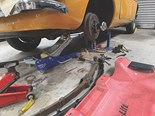
It’s taken months of work and more dollars than we care to think about, but our GT-HO replica is getting close to being a runner. So far we’ve stripped and restored the body, laid in a stunning Vermillion Fire paint job and now we’re into the serious business of building a fresh 351 Cleveland powerplant.
You have myriad choices when it comes to spec. The original Phase III claimed 300 horses (223kW) but actually pumped out closer to 350 (260kW).
If you have the right combination of lunacy and money, about double the original is possible, albeit at the expense of driveability and reliability. Ours had to have both features, so the target was more modest: a tad over 400hp (298kW).
One-stop shop, Grand Tourer Restoration (grandtourer.com.au) in Melbourne, has built lots of these engines and, with input from our own in-house guru, Phil Walker, came up with a package he felt would fit the bill.
Nothing has been left to chance. Like the rest of the car, the engine is a ground-up build with fresh or
fully re-made components. Critical to the quality of the end project was the expert machining and balancing services of Duggan Balancing in Melbourne.
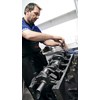
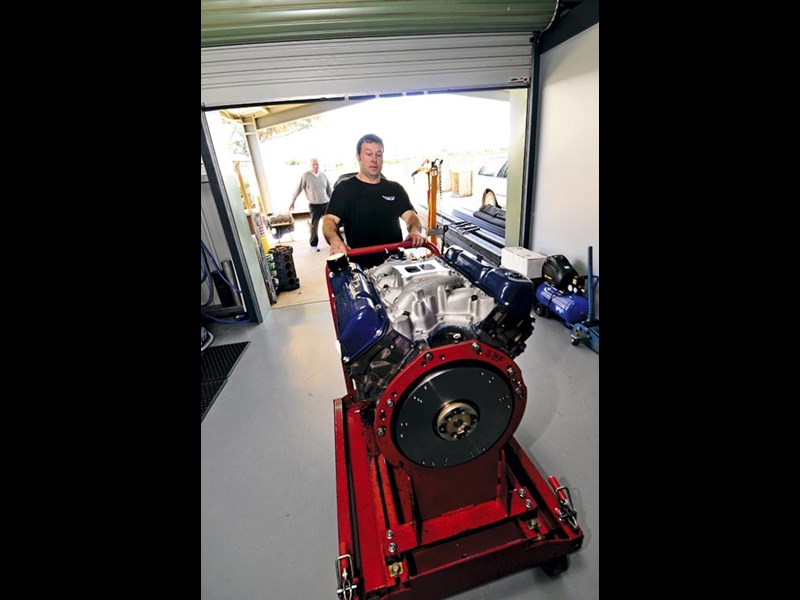
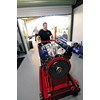
As you’d expect, Neil made the assembly look deceptively easy. One thing was clear: with a dedicated engine-build room put aside and no expense spared on the components, he was serious about making this mighty V8 one of the best. Then we trucked it up the Hume Highway to Selva Racing Power in Shepparton for a dyno shake-down.
Of course, what you see on on these pages is the donk in the engine version of overalls – that is, with a rough set of tappet covers and headers, just to get it through the running-in and tuning process on the dyno. The nice, painted parts are replaced once the job is done.
So how did we go? We got a ‘lazy’ 426 horses (317kW) without resorting to crazy revs, plus a torque curve almost as flat as the Nullarbor. We have one very sweet engine on our hands.
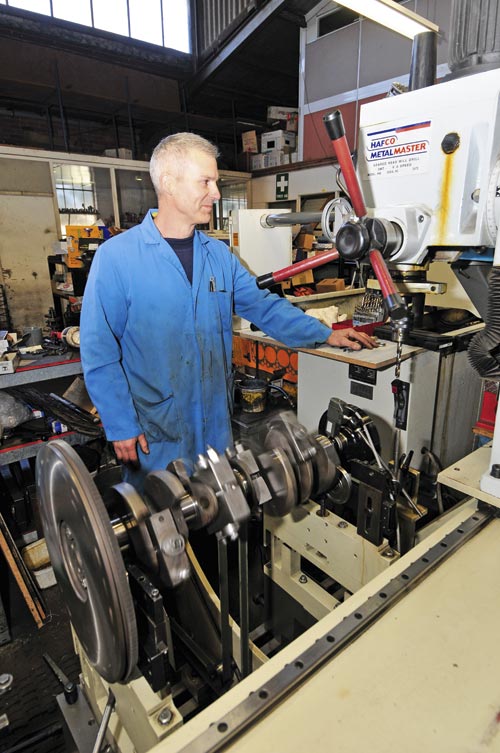
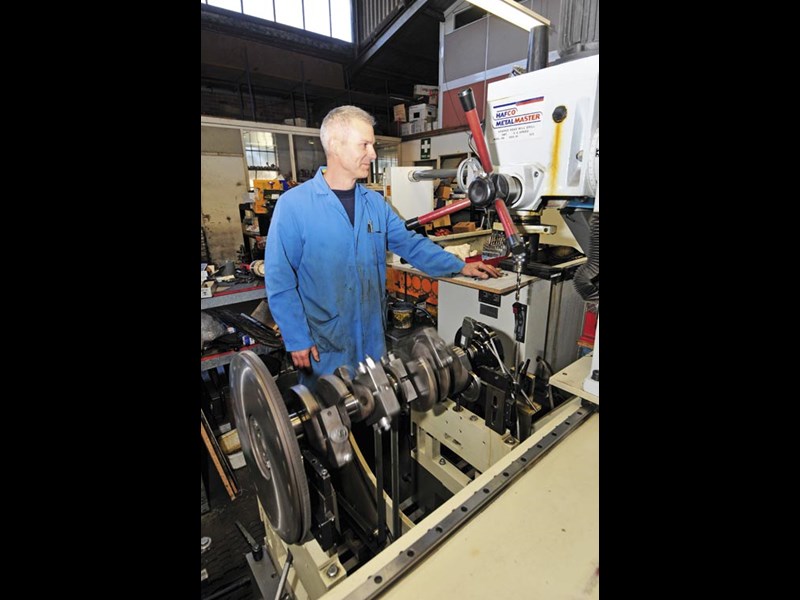
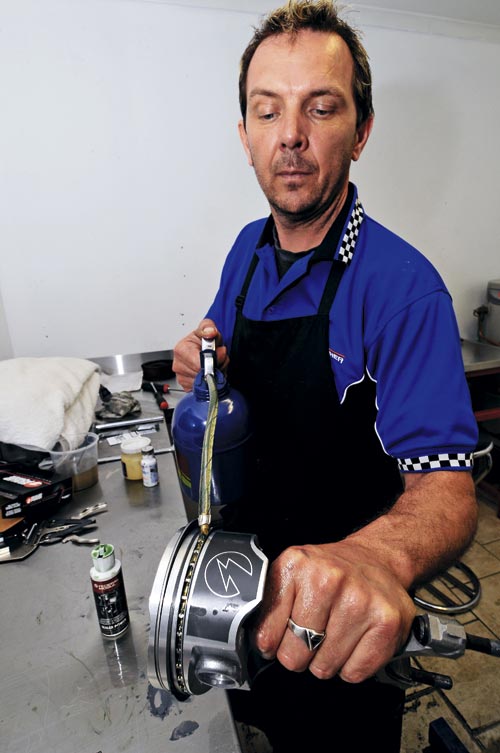
1. Back to basics for the HO engine – here we’re getting the crankshaft balanced. This makes for smoother running, more power and greater longevity.
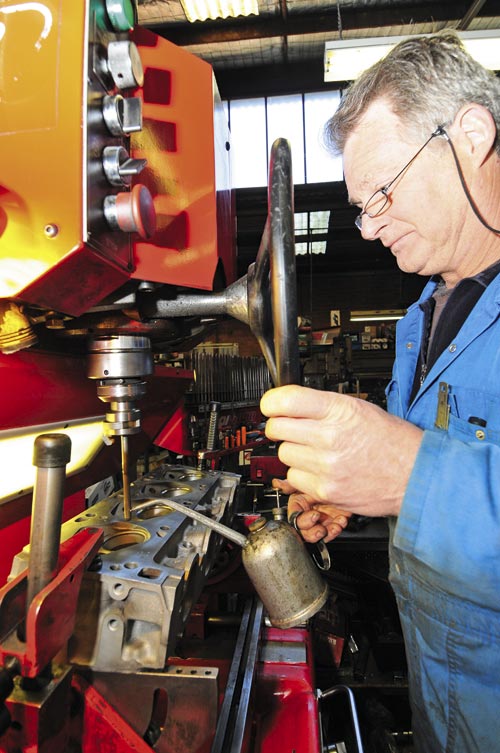
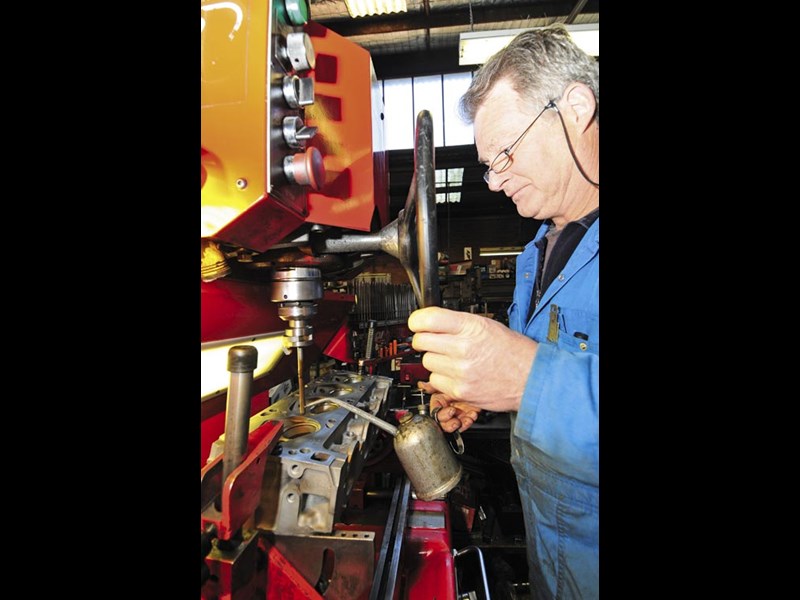
2. Fresh valve seats are cut by the crew at Duggan. Accuracy is absolutely critical if you’re to have a good seal and max performance.
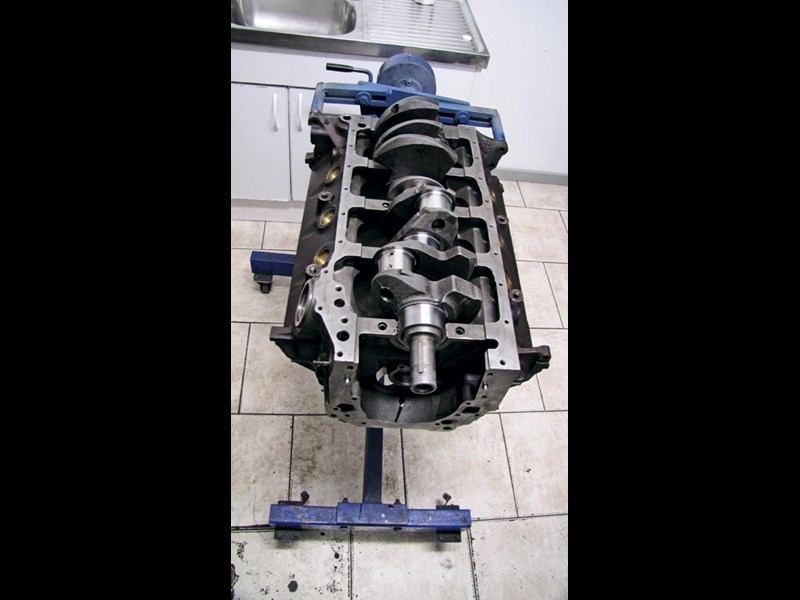
3. Back at Grand Tourer, now the powerplant really starts to take shape. Neil has just delicately placed the crankshaft into the cases, ensuring clean fit and no excessive float.
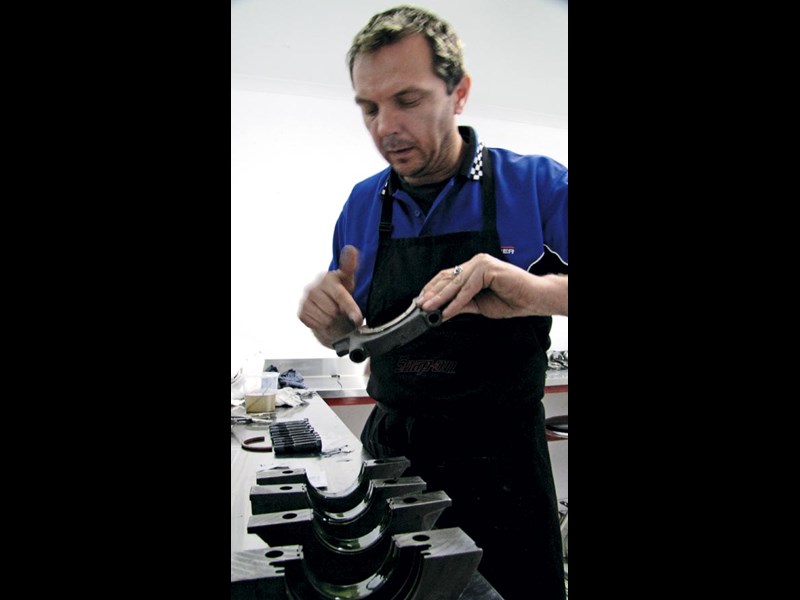
4. Neil lubes the very beefy crankshaft bearing caps. Cleanliness is critical at this stage, as the bearing surfaces take a
lot of strain.
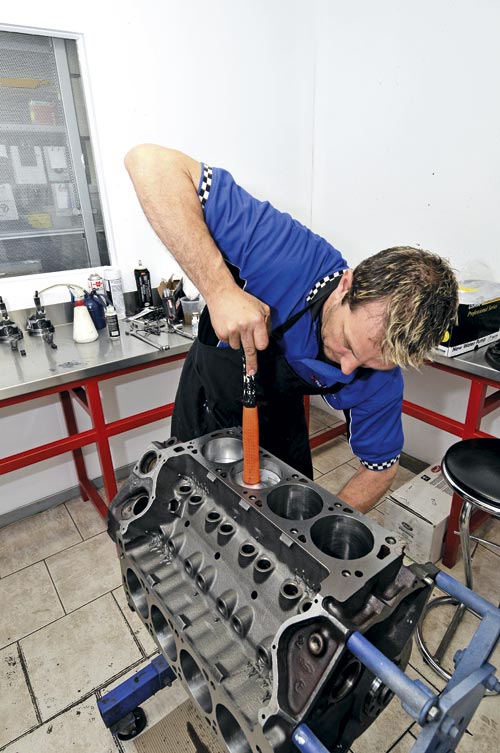
5. Out with the spanners and the crank bearing caps are locked into place. The final tightening is done with a good quality torque wrench. Note how a proper rotating engine stand makes this job much easier.
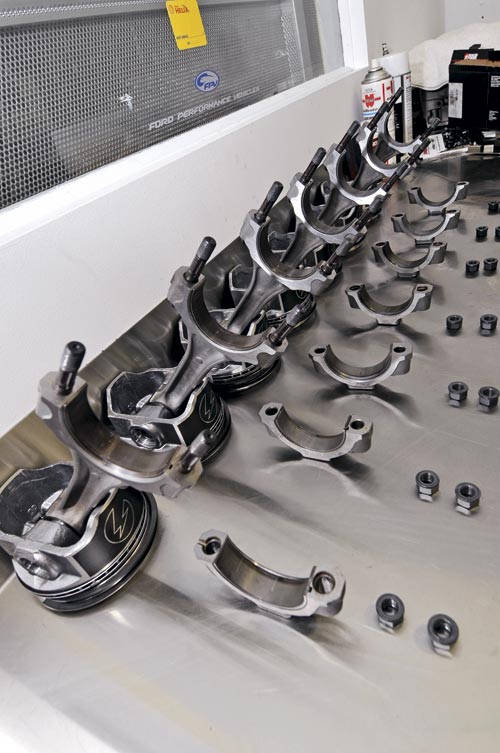
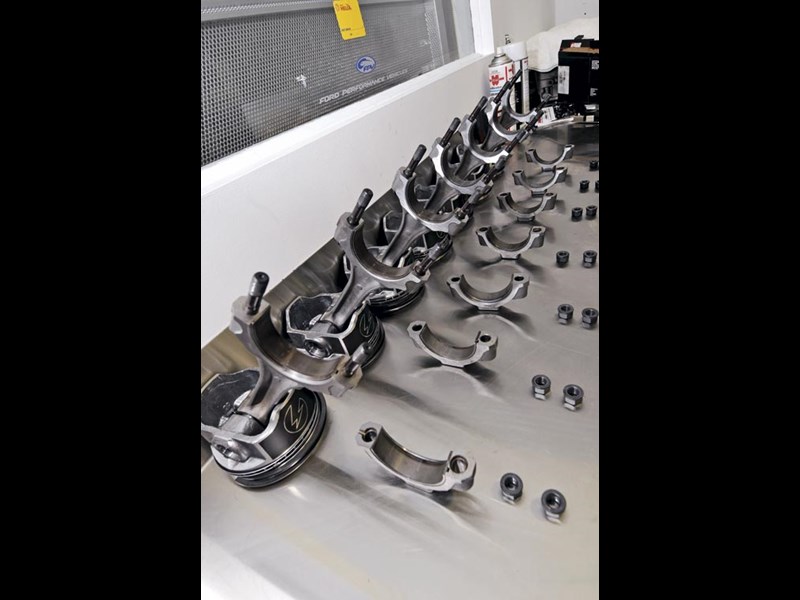
6. Fresh pistons, rods and big ends are all laid out, ready to go in. This organised approach makes sure the job goes smoothly and there’s no confusion over which components go where.
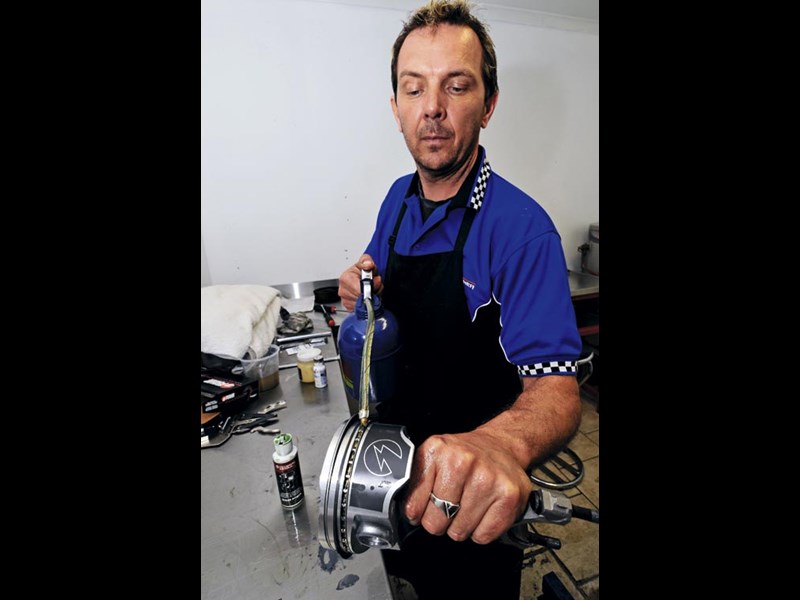
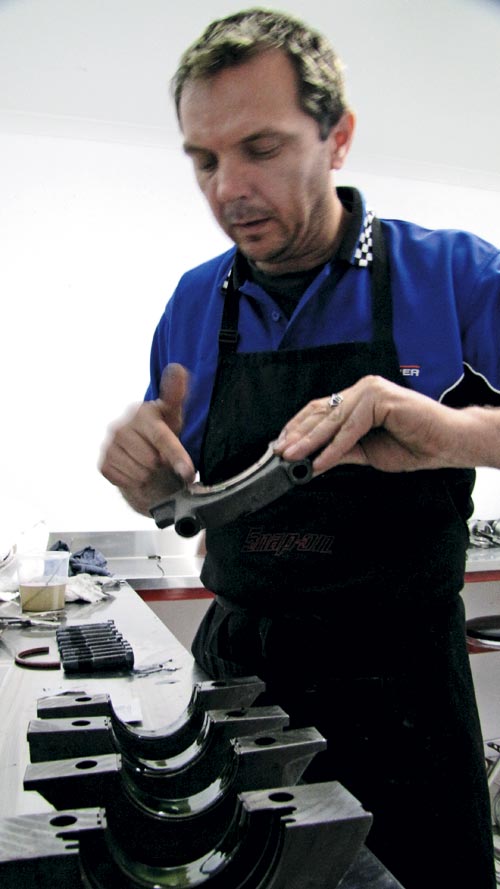
7. Neil avoids rushing the piston and ring assembly and here gives the rings a light lube before installation.

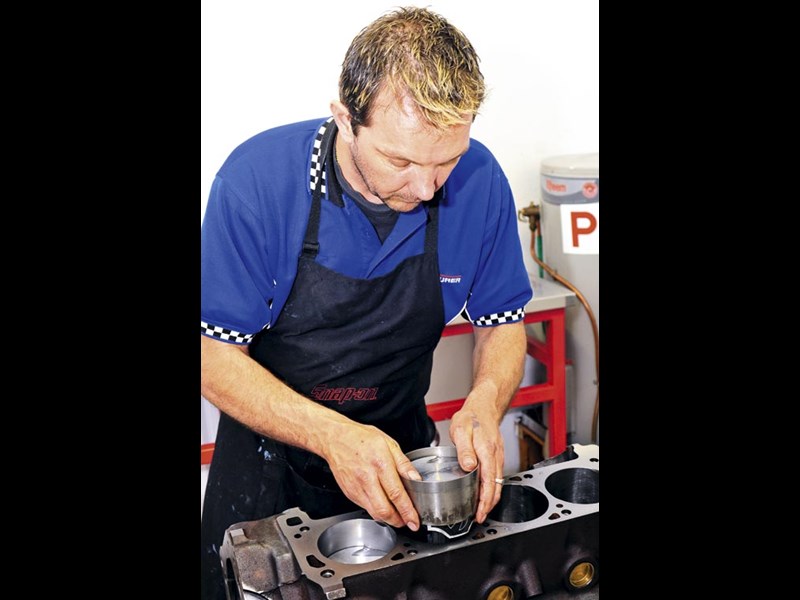
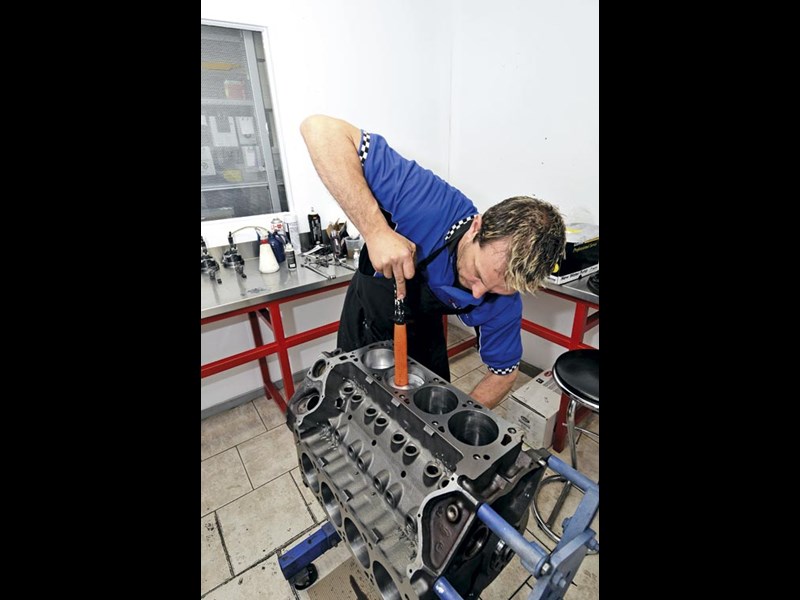
8. Now we’re getting to a delicate stage, as Neil fits a sleeve over the new piston and rings, prior to fitting them to the barrel.

9. This is where everyone holds their breath. The piston and rings should be a tight fit, which means you need a combination of precision and just the right amount of force to get them in without breaking a ring.
10. A final push with a soft-ended tool ensures the piston is sliding smoothly, while getting it into position for the big-end to be done up.
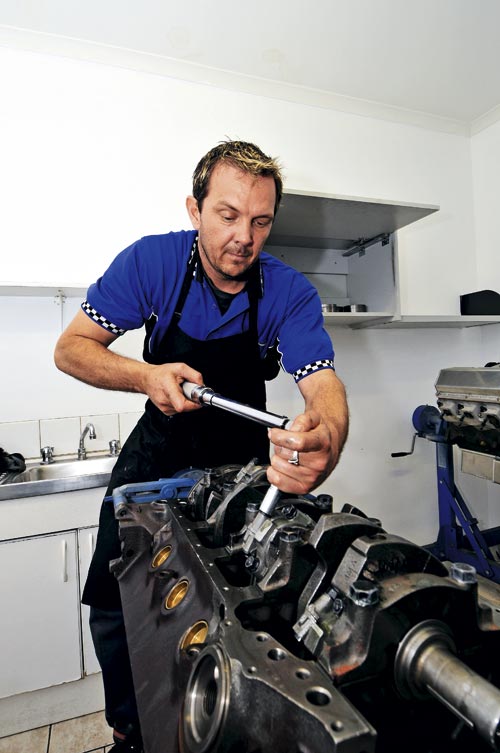
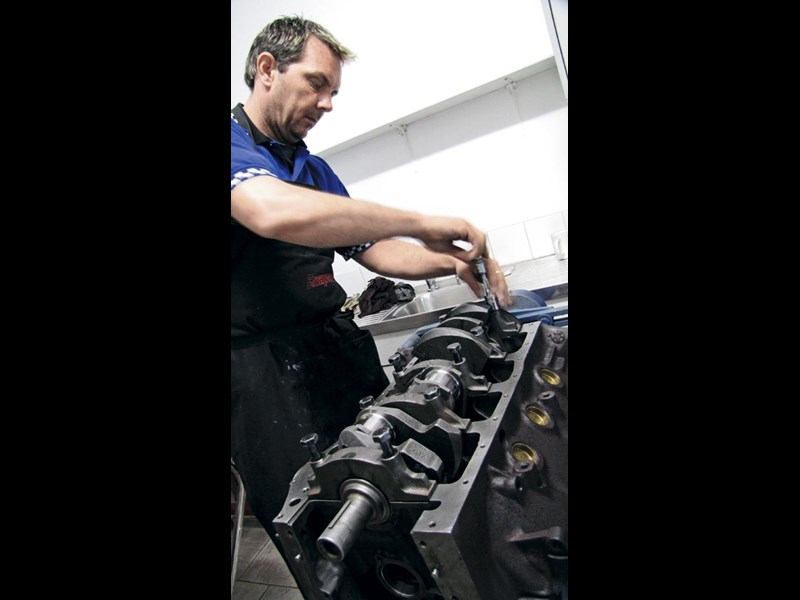
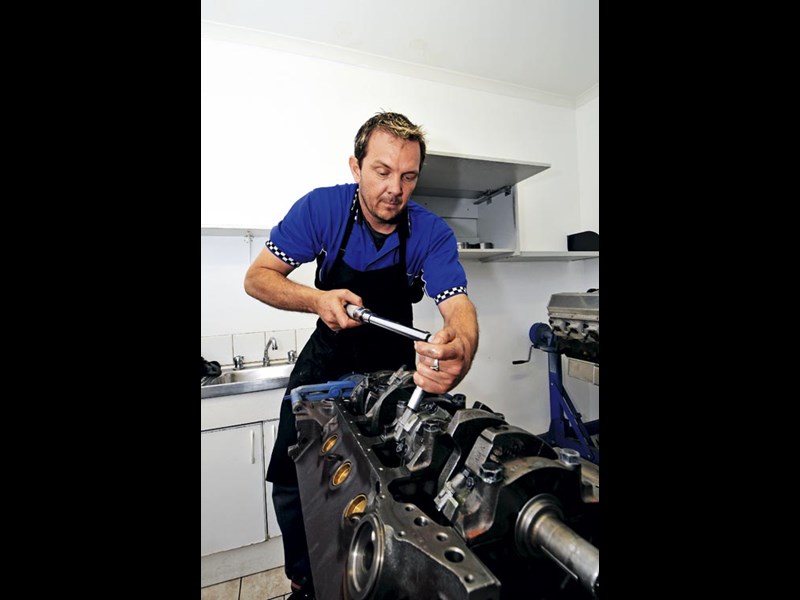
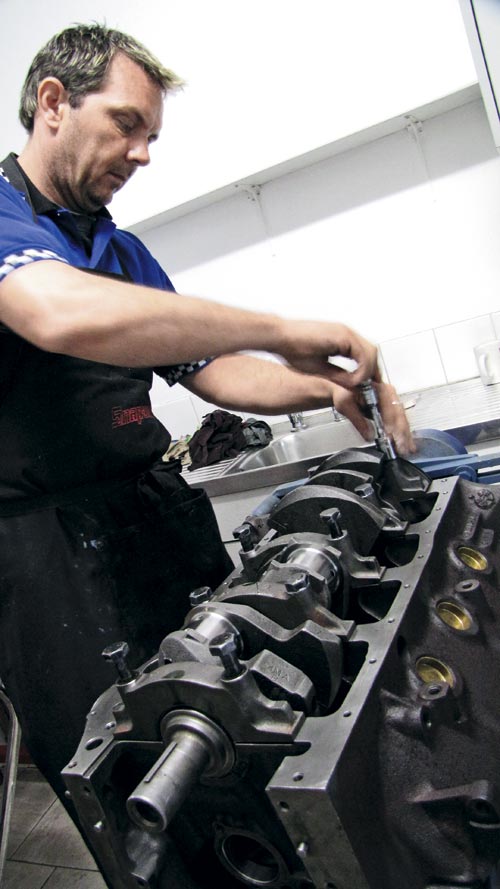
11. With the engine flipped over, Neil can do up the big-ends. Again, cleanliness is absolutely critical, as is using the correct torque setting.

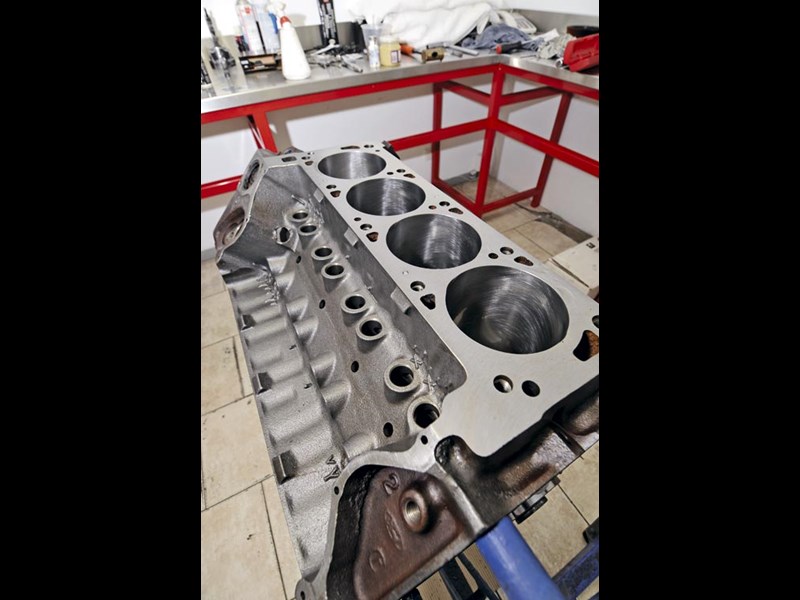
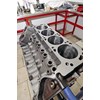
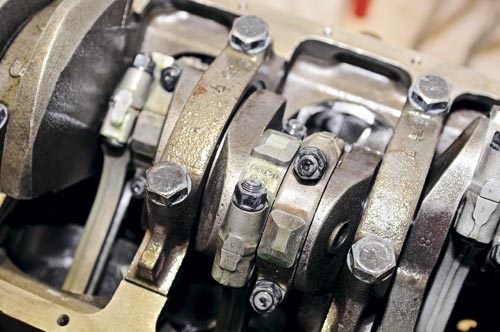
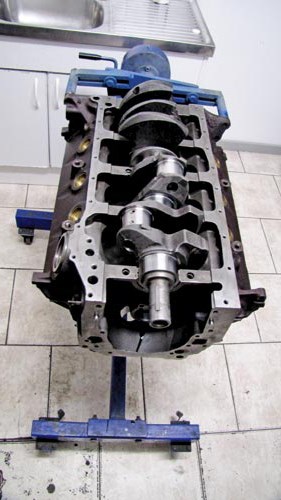
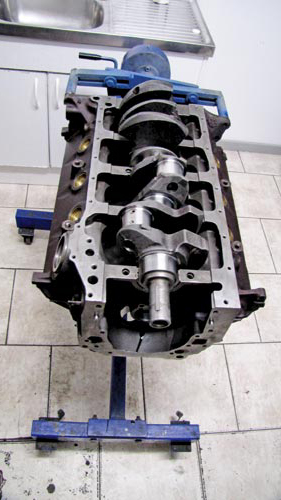
12. At last the bottom end is together. Note how the V8 has two conrods sharing a common bearing. There’s lots of ‘beef’ in there, as you’d expect in a high-performance engine.
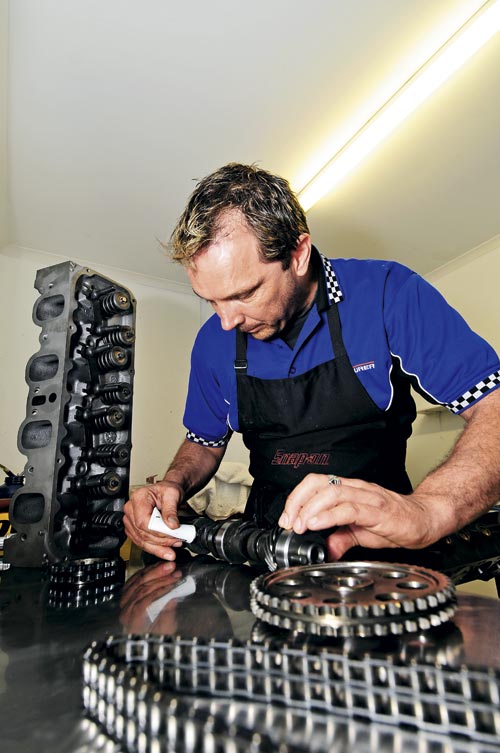
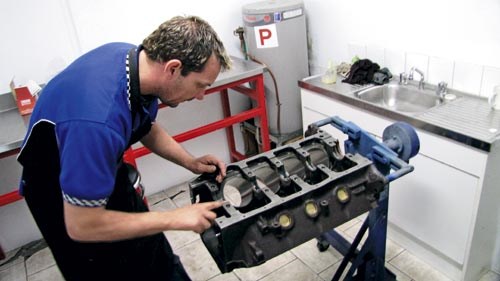
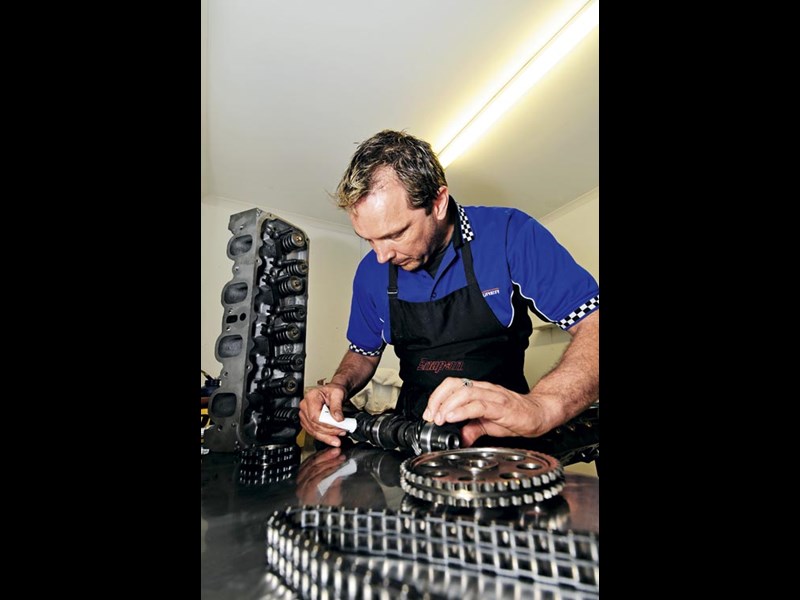
13. With the pistons in place, Neil turns his attention to the top end, including camshaft, heads and timing gear. Every component gets a final check-over and lube.
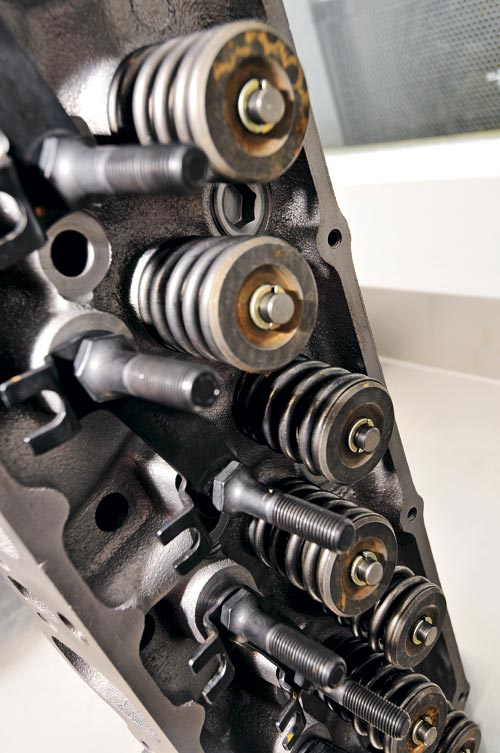
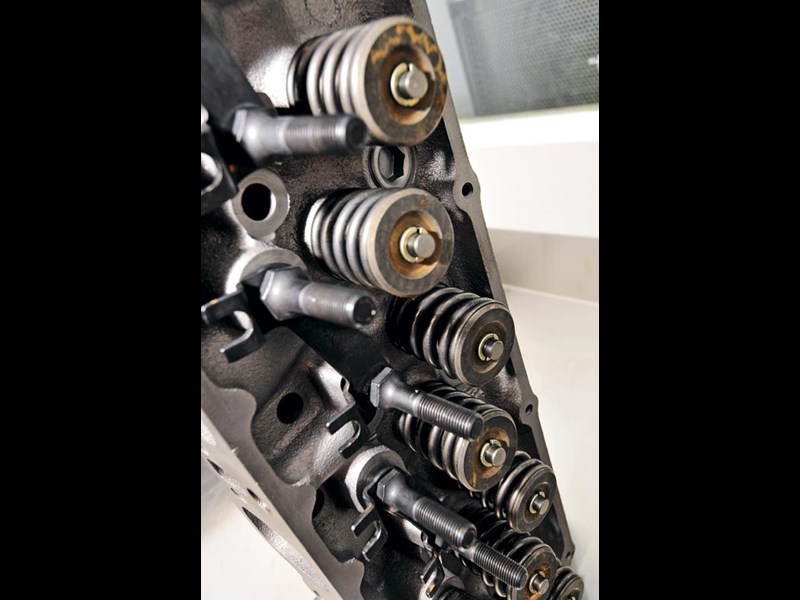
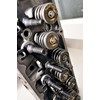
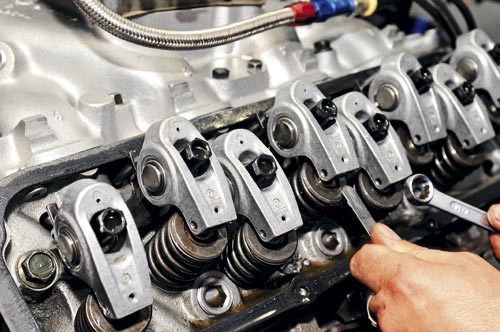
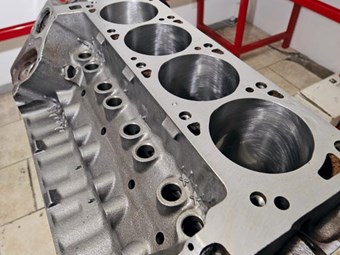
14. With the heads cleaned up, fresh valves and springs have been installed. The crew decided to stick with stock Phase III spec as it’s strong and reliable.
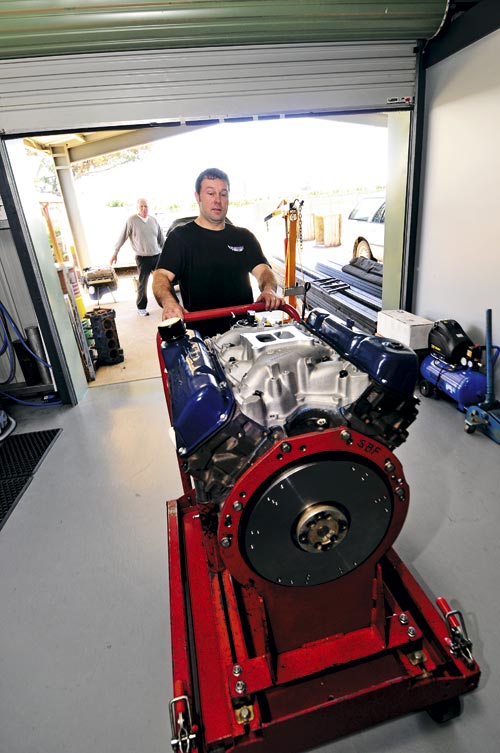
15. With the assembly complete, the bare engine arrives at the dyno. There’s plenty of work to come.
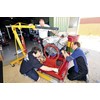
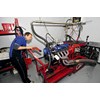
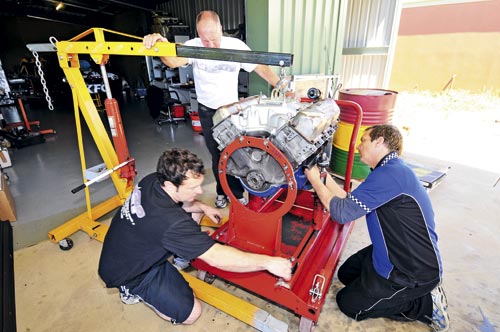
16. Dyno Danny has fitted the engine into a custom-made rig, solid enough to cope with a feral V8 at full noise.

17. There’s lots of set-up work to be done, before the engine can be turned over for the first time. Here we’re checking rocker clearances.
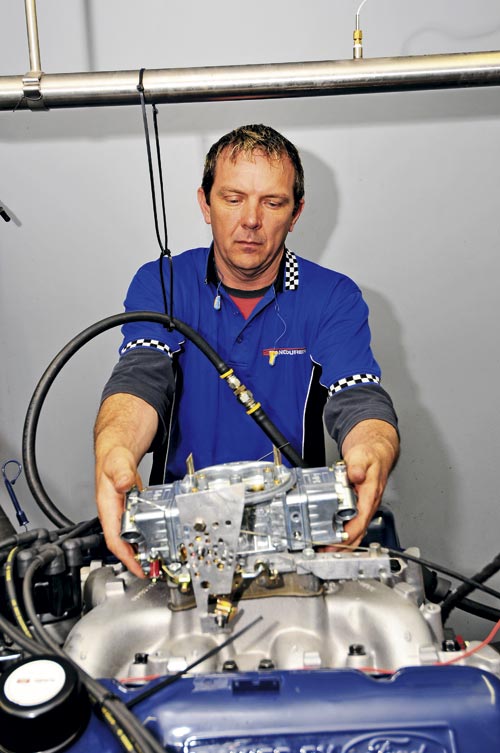
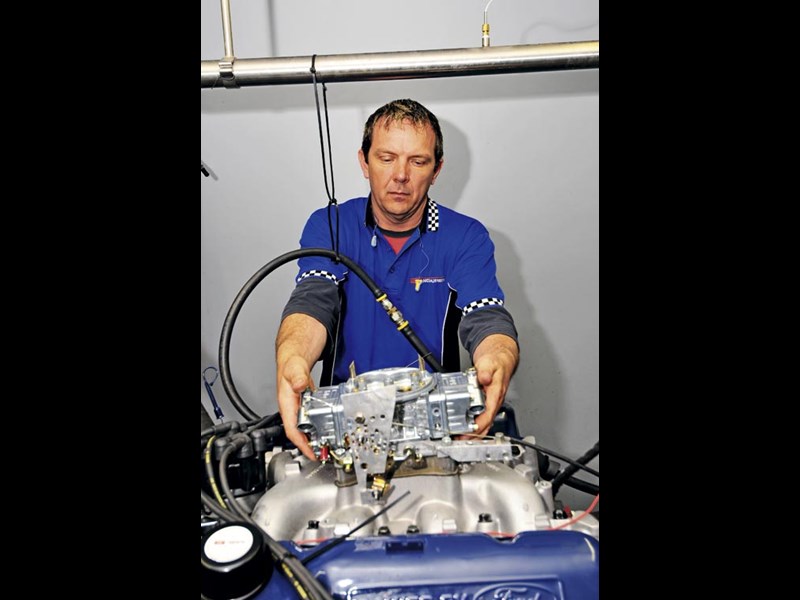
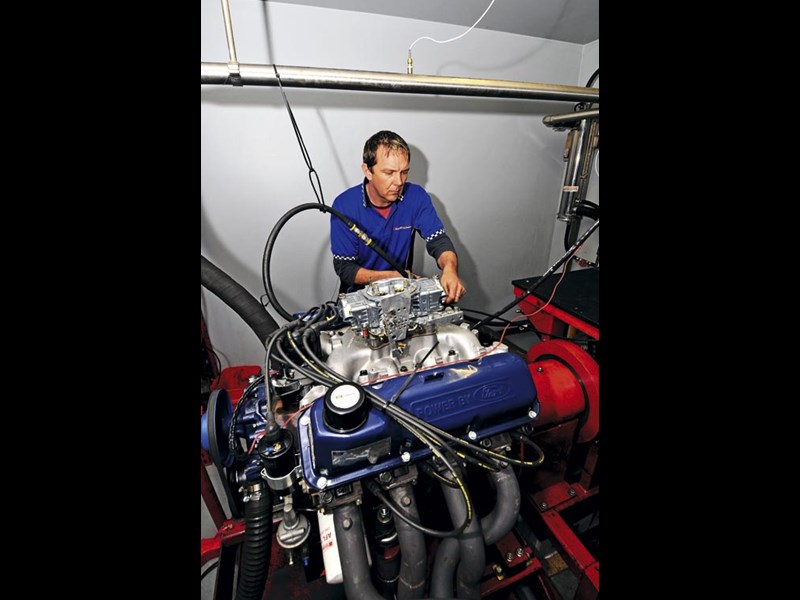
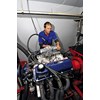
18. Now the top of the engine starts to take shape – Neil fits the 650 double-pumper Holley to the new inlet manifold.
19. With tubes, wires and sensors going in all directions, we’re close to being set up. All it needs is a final timing check.
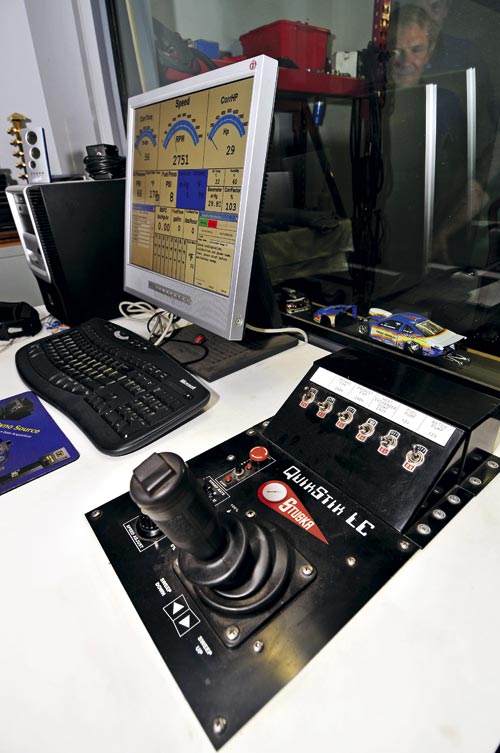
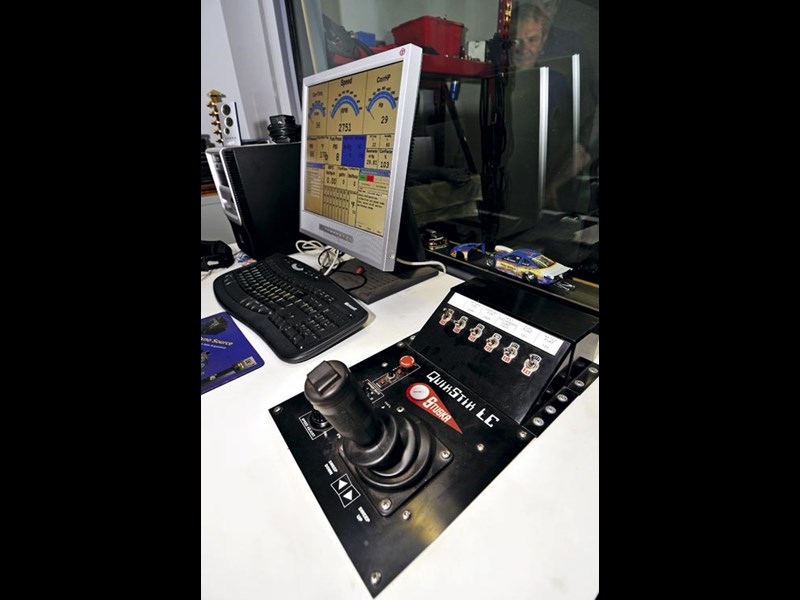
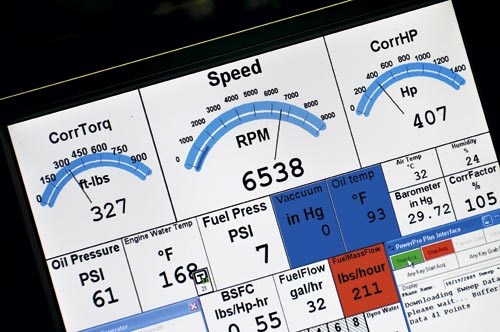
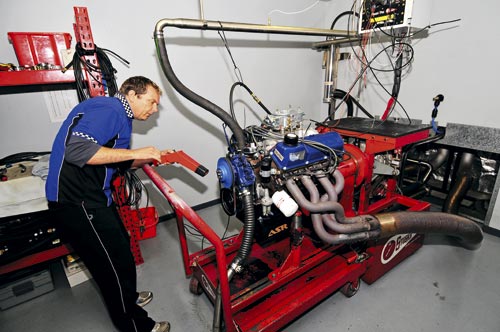
20. Dynos have come a long way over the years. This computerised suite needs considerable skill to get the most out of it. The pay-off is good information on what the engine is doing.
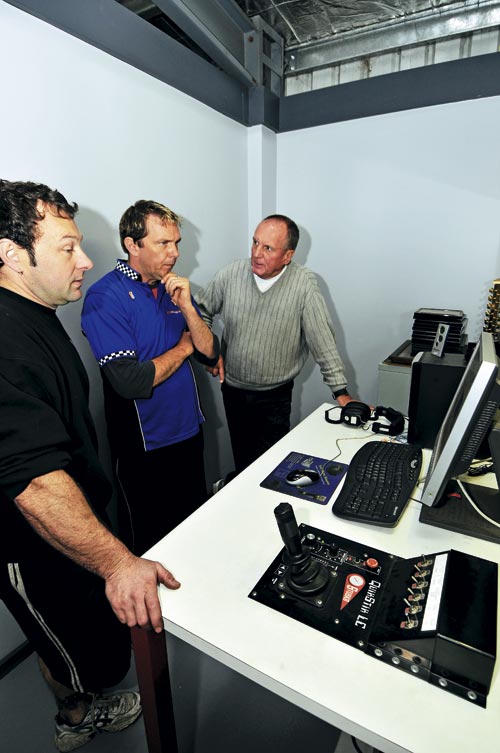
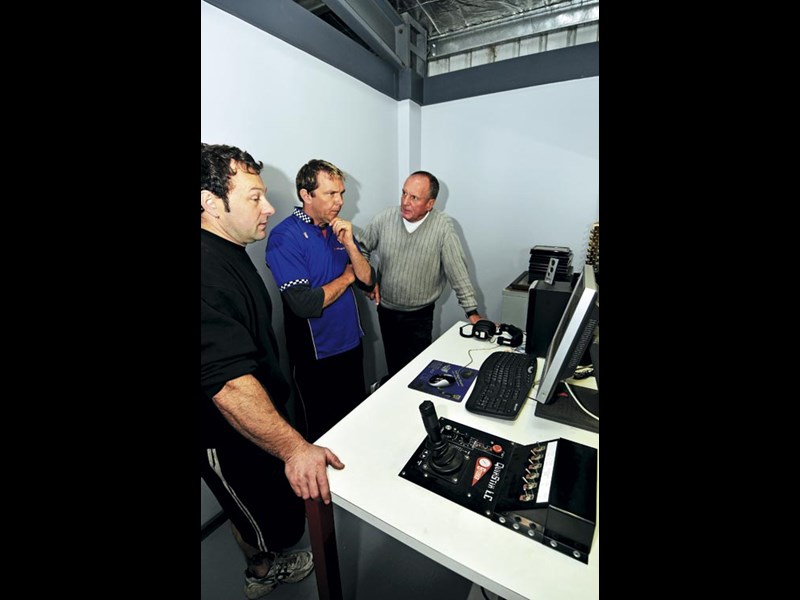
21. Cheer up, guys! Danny, Neil and Phil look much too serious for a bunch of blokes who just got 426 horses...
Rare Spares top tips: rebuilding an engine
1. Planning is critical. Work out what’s really important to you when it comes to engine performance. For example, is peak power more important than good road manners?
2. Plan the engine as a package, rather than buying components on a whim.
3. A sealed and dust-free room is critical, particularly when working with bearing surfaces.
4. Good quality components will cost a bit more at the start, but the extra expense will become insignificant if you get it right and get years of pleasure out of it.
Unique Cars magazine Value Guides
Sell your car for free right here
.jpg)
Get your monthly fix of news, reviews and stories on the greatest cars and minds in the automotive world.
Subscribe