Muscle Car Factory: Eleanor Replica Build No.5
|
|
|
|
|
|
|
|
|
|
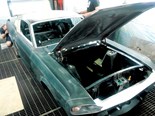
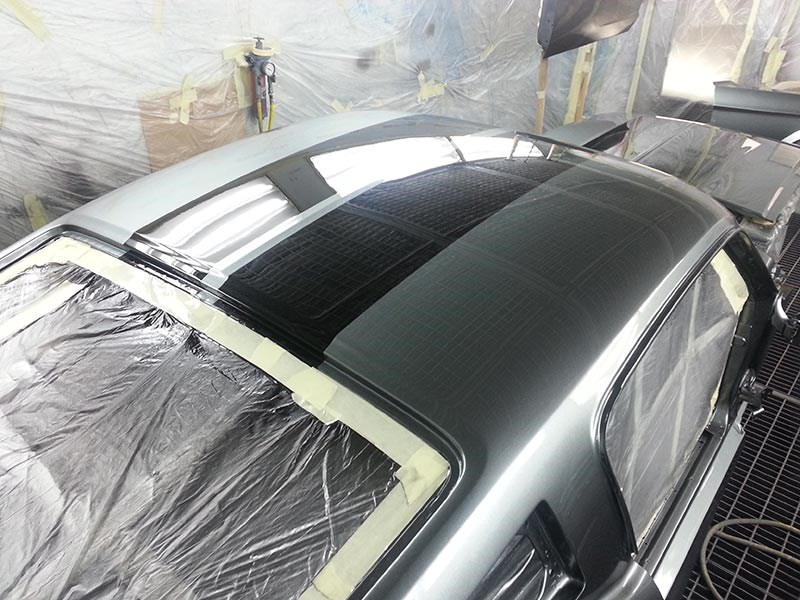
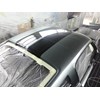
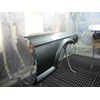
Getting the paint and exterior finish right on the Eleanor build can be hugely time-consuming
MUSCLE CAR FACTORY ELEANOR REPLICA BUILD
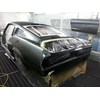
Last time we had a bit of a squizz at what was involved in fitting the Eleanor’s distinctive body kit, which includes hood, nose cone, skirts, wheel arch flares and assorted tailpieces. When you look at the lot in one place, it’s surprisingly complex. All of it is in fibreglass, which presents its own challenges.
Leo Banks, the gent running the Muscle Car Factory, says lots of time and plenty of forward planning are among the key ingredients. For example, he likes to get the fibreglass pieces at least six months ahead of assembly, so he knows the material is properly cured. Then they’re baked, just to be sure they won’t continue releasing vapours after the paint is applied.
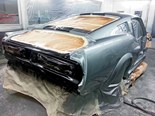
The rear bumper is a special case. The crew actually buys a new piece, removes the chrome and then frenches the component into the bodywork before it’s painted. It’s a process that can take a week just on its own.
A huge amount of time is spent getting panel gaps right and, even here, you need to think ahead. Banks says if they’re aiming for a 5mm end gap, they start with 7mm as the product applied to the skin will take up the difference. If you forget this, you have a problem with gaps that are too tight.
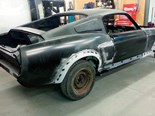
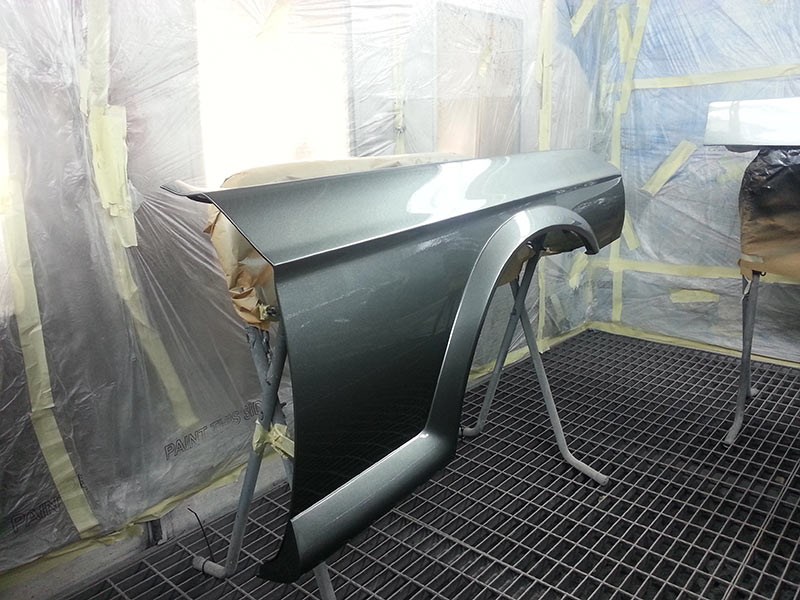
Despite what you might see on some car resto or build shows on TV, profiling and finishing is not about trowelling on the filler and smoothing it out. Banks says he starts with new panels, which will always be easier than used, and invests the time saved in getting the profiling right.
He reckons the first step is applying a coat of epoxy and rubbing that back for a stage 1 profiling. From there the epoxy is re-applied, blocked and the whole project skimmed with a polyester coat as part of the final profiling. Once they’re happy with the result (which easily burns another couple of weeks, a final epoxy coat is applied before they start on the undercoat.
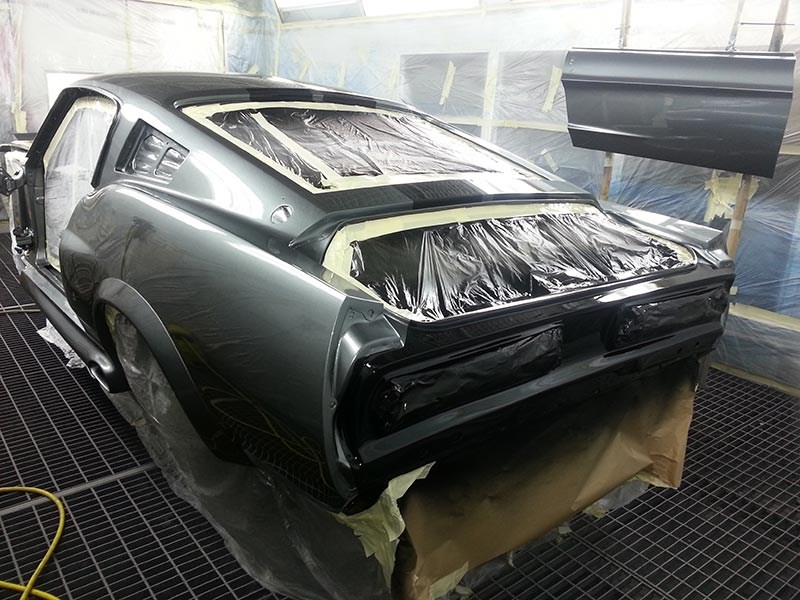
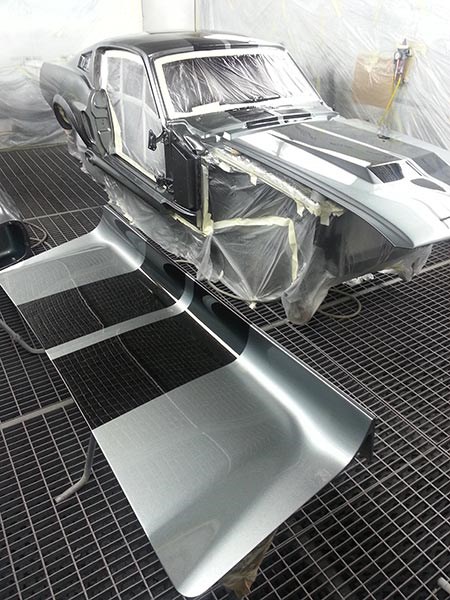
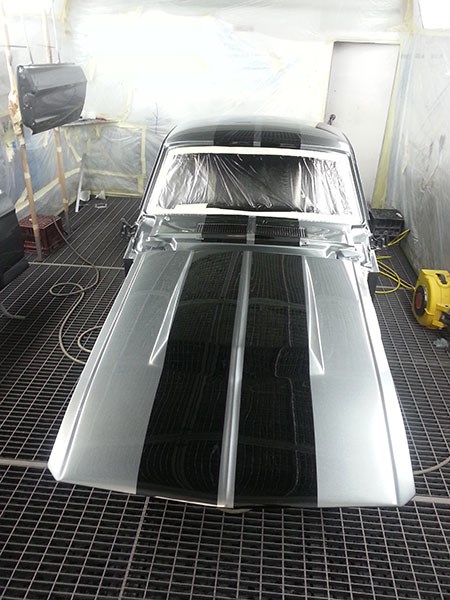
As anyone who’s tackled even a small spray repair will know there’s actually a very real talent behind a good spray job, plus a lot of technique. Once the car starts to receive its numerous coats of colour and clear, each panel is hung exactly the way it sits on the car. For example doors are mounted vertically, as are pieces such as the nose cone. It’s a little less convenient than having it sit flat or hanging any way that seems okay, but it affects the final result.
As Banks explains it, the fan from the spray gun needs to be hitting the surfaces at the same effective angle, so when they meet up on the car the match-up is perfect. The difference doing it another way may be minor, but someone who’s ultrafussy will spot it.
When you see what’s involved, you can start to understand how a ‘simple’ paint job can end up costing tens of thousands of dollars. The hours involved are phenomenal – in this case it’s a process that can easily add up to a couple of months of work.
Still, if you you’re going to all this trouble to build a star car, there’s no point in doing it any other way… (Next time we’ll get stuck into the mechanicals.)
Unique Cars magazine Value Guides
Sell your car for free right here
.jpg)
Get your monthly fix of news, reviews and stories on the greatest cars and minds in the automotive world.
Subscribe