Holden FJ Utility: Reader resto
 Reader resto: Holden FJ Utility
 Reader resto: Holden FJ Utility
 Reader resto: Holden FJ Utility
 Reader resto: Holden FJ Utility
 Reader resto: Holden FJ Utility
 Reader resto: Holden FJ Utility
 Reader resto: Holden FJ Utility
 Reader resto: Holden FJ Utility
 Reader resto: Holden FJ Utility
 Reader resto: Holden FJ Utility

 Reader resto: Holden FJ Utility
 Reader resto: Holden FJ Utility
 Reader resto: Holden FJ Utility
 Reader resto: Holden FJ Utility
 Reader resto: Holden FJ Utility
|
|
|
Reader resto: Holden FJ Utility
|
|
|
|
Reader resto: Holden FJ Utility
|
|
|
|
Reader resto: Holden FJ Utility
|
|
|
|
Reader resto: Holden FJ Utility
|
|
|
|
Reader resto: Holden FJ Utility
|
|
|
|
Reader resto: Holden FJ Utility
|
|
|
|
Reader resto: Holden FJ Utility
|
|
|
|
Reader resto: Holden FJ Utility
|
|
|
|
Reader resto: Holden FJ Utility
|
|
|
|
Reader resto: Holden FJ Utility
|
|
|
|
Reader resto: Holden FJ Utility
|
|
|
|
Reader resto: Holden FJ Utility
|
|
|
|
Reader resto: Holden FJ Utility
|
|
|
|
Reader resto: Holden FJ Utility
|
|
|
|
Reader resto: Holden FJ Utility
|
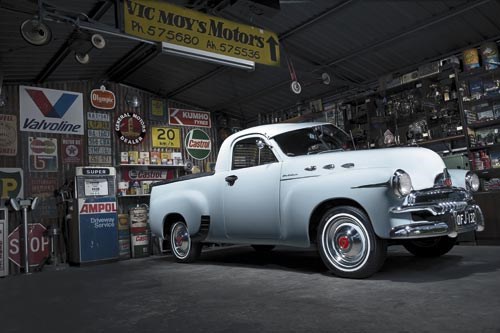
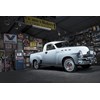
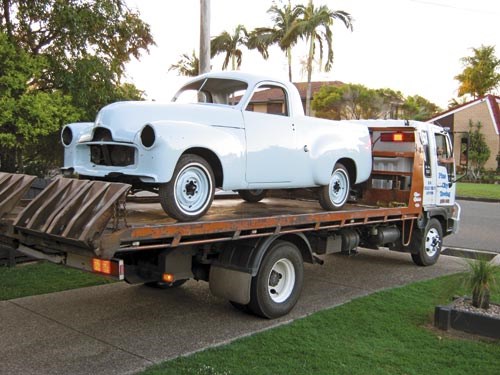
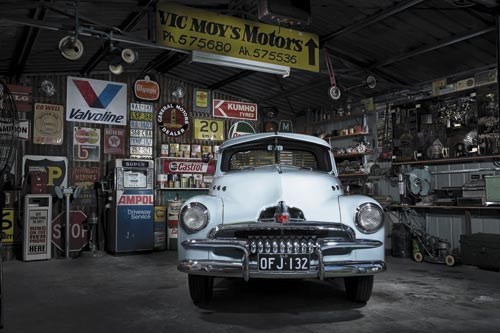
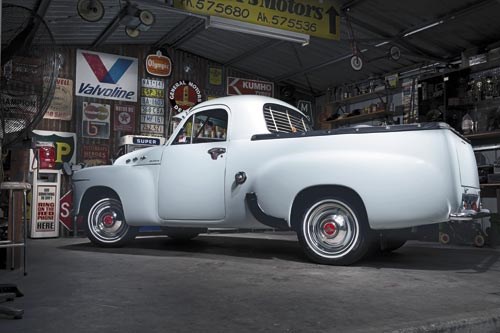
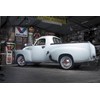
Chris Moy's freshly finished 'Mosman Blue' FJ Utility...

|
|
Reader resto: Holden FJ Utility
|
FJ Holden resto
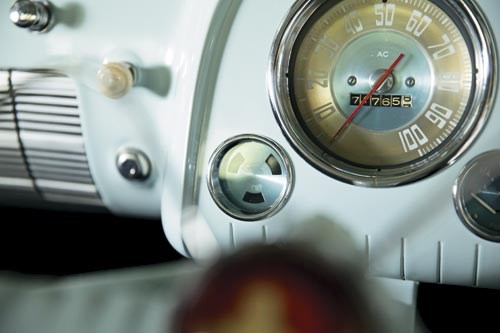
This better-than-new FJ Utility is part of the Moy family's DNA...
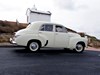
In the early 1980s, my grandfather purchased our ute. The previous owner’s son had plans to ‘Hot-Rod’ it and had begun modifying it. Fortunately, grandad was able to save and restore it, becoming his ‘shop ute’ for his mechanical business in Mackay, Queensland. It stayed in that role until he retired in 1997. The FJ also retired.
Since I was a child, I’d loved the old ute and hoped that one day I’d own one. I developed a passion for this car and seeing it laid up, slowly deteriorating, was not what I wanted. So in March 2000, when my grandfather decided it was time to hand the keys over, I was over the moon.
It was in reasonable condition, but was showing its age. I had a young family, so finding the funds to restore it properly again seemed a lifetime away. In the meantime I maintained it as best as I could and used it regularly. It wasn’t long before I took it to some car shows, winning a few originality awards. Over the coming years I started collecting period-correct accessories from wherever I could find them.
By November 2008, it was looking tired. The paint was over 25 years old, the chrome work was pitting, rubbers were worn and a little rust appearing. Grudgingly, my wife gave me the go ahead for a full restoration.
At the time, the car was close to original, so the decision was taken to restore the ute ‘back to factory’.
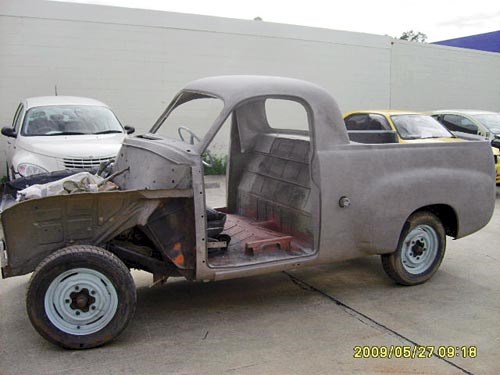
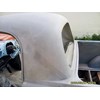
The shop that first painted the car in early 2009 used the wrong colour. From there Odra Sandblasting had the task of cleaning the panels. There were the usual bumps in the back and a bit of rust was revealed where the stone guards go. The original guards had a metal plate which maintained their shape but over time they’d rusted through.
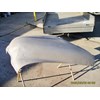
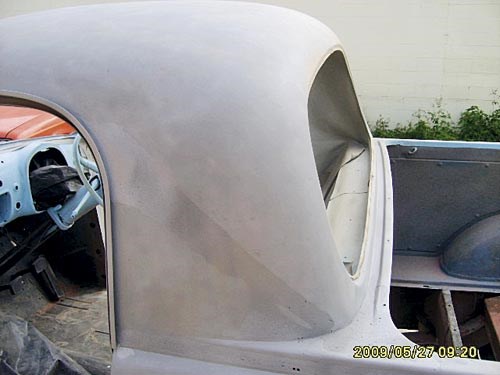
The floor was in good condition, but the left front guard had received a rough repair, the frog mouth (front grille cowl) being out of shape.
It’s amazing what you find when all the paint and any fillers are removed. At some stage, the bonnet had a 10cm hole welded up; in those days, people would cut a hole and plumb a tube to the carbie as a form of ‘Air Ram’.
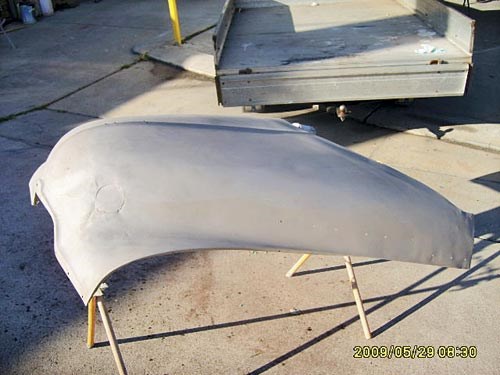
I wanted minimal use of body filler so any panels that weren’t in perfect condition, I had to hunt down.
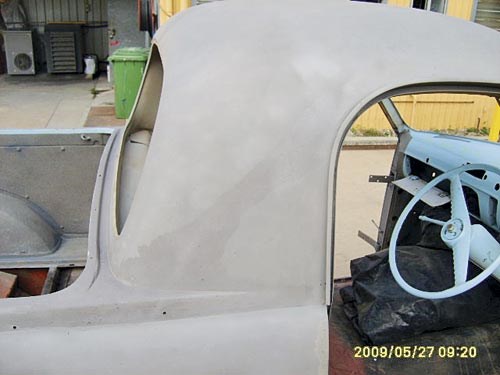
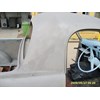
In May 2009, the car was off to another shop but unfortunately I ended up bringing it home in August as I wasn’t happy with their workmanship.
With the car back I decided that if I was keeping it original, it would lose the later-fitted indicators. When I was pulling the wiring out I came across a large black object attached to it. I cut it open and found the original GM-H keys. I also found a lot of built-up mud. I reckon it weighed 30kgs; it’s amazing how much can build up.
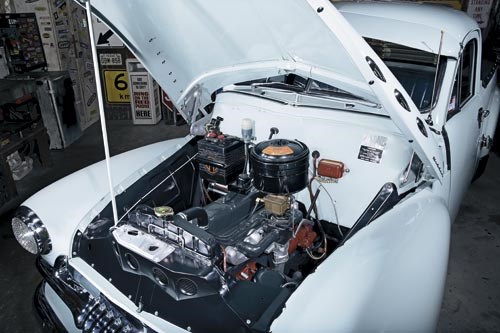
I cleaned up the undercarriage and treated the chassis with fish oil. I wanted to retain the original six-volt electrics so began searching for an original bitumen battery. I phoned potential leads from around the country for months until I found a place in Victoria. They’d purchased four old battery casings at an insurance auction after the Victorian fires.
Normally I’d try haggling, but this time I didn’t hesitate – I sighed with relief and placed my order.
I was put onto a fellow called Ken Bond in August 2009. Ken was a coachbuilder who restored old cars in his spare time, and he agreed to take on the FJ. While Ken worked on the body I arranged for the interior to be re-trimmed.
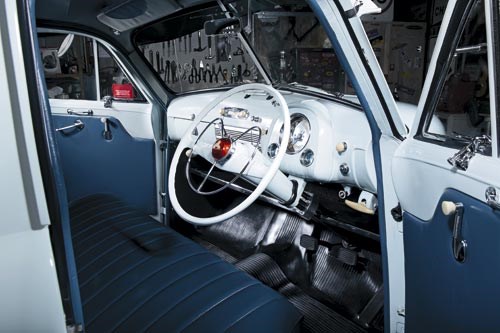
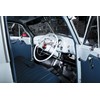
Prior to the restoration, the upholstery was in extremely good condition but during the build I discovered that, according to the body plate, the interior trim colour was actually incorrect.
Referring to the book series The FJ Holden, by fellow early Holden enthusiast Don Loffler, the stampings on the FJ’s build plate indicated Mountain Blue trim. The upholsterer searched hard, but as with most 1950s colour codes it wasn’t easy to match. He discovered that Mountain Blue is now called Deep Ocean Blue, so the seat, door coverings and sun visors were redone accordingly. The hood lining was in excellent condition prior to the restoration, and we were able to save it.
I purchased a complete rubber kit with a glovebox liner, and door cards from Betta Auto Rubber in Queensland. I also grabbed a new floor mat and rear NASCO mud flaps from Obsolete in Victoria.
Anyone who’s undergone a resto would know that getting anything properly chromed is challenging. I tried a few electroplaters with smaller items that I could sacrifice before sending them more important parts, but found them lacking. I finally found a Melbourne company who achieved great results.
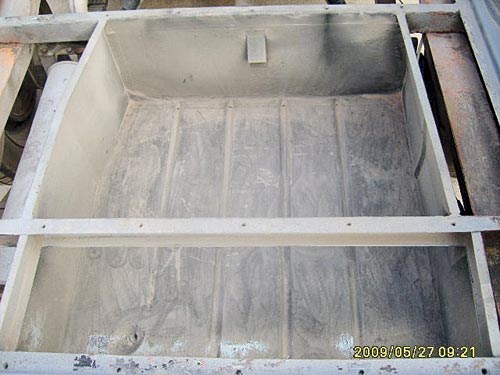
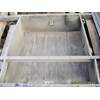
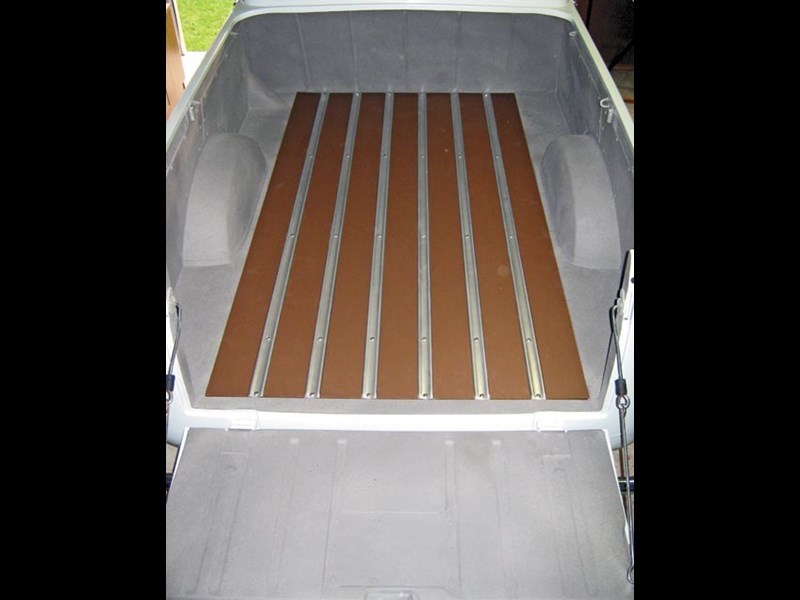
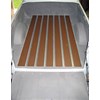
Since I was going all the way, I decided to replace the timber tray flooring as it was looking worse for wear. I found an original diagram with measurements. The timber was hardwood and painted Mundi Brown. I was visiting family in Mackay and purchased seven 2.1m lengths of Kwila wood, and my grandfather (who is still very handy), routed the groves out and cut the pieces to size. As with the body colour and trimmings, the colour is not made any more, but with my samples handy I went with ‘Coachwood’, which is close to the original.
Inside the cargo area, I decided to use ‘Grey Panel Fleck’ as it’s a very durable finish – and I still wanted to utilise the tray for transporting gear to shows.
I got an original colour match and in May 2010 the FJ was coated in PPG two-pack Mosman Blue. The engine bay was painted in GM-H black and the rear in Grey Panel Fleck. Even incomplete, she looked a million dollars. Next was home sweet home to start the fun part, putting it back together.
I immediately got into refitting the chrome work. The electroplating process had actually made some items a little tighter for fitment, as the chrome had got into the notches where they aligned with the machined keyways.
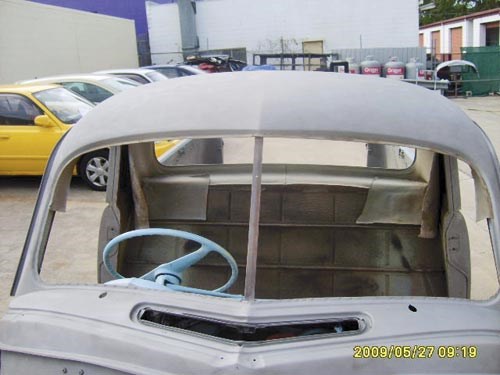
Next was fitting the interior and wiring, then getting the front windscreen and rear window installed. I discovered the original hardened glass is no longer allowed, so we went with laminated safety glass, but there weren’t many companies willing to fit it. One company who tried cracked a window. It turned out that the rubber bridging was the incorrect size, making the glass sit incorrectly. By this stage I’d had three windscreens made, but had to buy another two smaller examples.
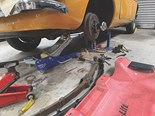
The FJ was looking fantastic, but she had to go back on stands so I could get into the detail work in and around the engine and gearbox. There was grease that had set like concrete around the front, which had to be scraped off with a Stanley knife. I replaced the shockers and other suspension components and spent days stripping and cleaning and painting underneath in black stone guard. I also fitted the rails and boards to the cargo area that my grandfather had so kindly remanufactured for me.
I had strongly considered going for reproduction crossplies as they were standard in the 1950s. But too many people advised they weren’t very safe, so I decided on whitewall radials.
Many items were powdercoated, such as the rear venetian blind, bonnet hinges, air-cleaner, and scuff plates. It’s a durable finish and should retain that new look for several years.
I had also purchased a new, complete wiring harness from Vintage Wiring Harness in Victoria. They make them like they were in-period with cotton covered cables. With a little help from the FJ Holden workshop manuals I managed to fit the harness myself over two days.
In late 2010, my grandfather made a special trip and flew from Mackay to Brisbane to help me finish ‘our’ FJ.
He got right into it, starting with overhauling the brakes. Then it was time see if the old girl would run. After a check and flush she started up after three years sitting.
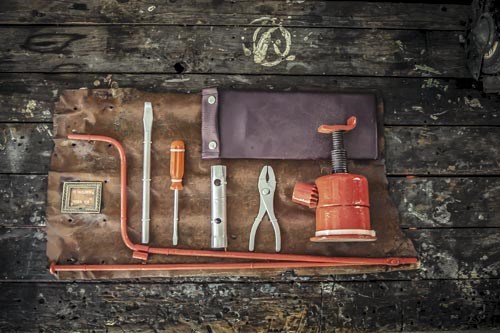
We added fresh oil and Grandad checked the timing, points and fueling. Seeing Grandad was a mechanic who’d worked on these for years, he had all the appropriate tools and passed them onto me.
The chassis and body plate numbers are 501 apart, which Loffler’s book confirms as the gap between the chassis to body allocation on the assembly line.
Finally it was time for us to take the old girl out and it was great to have her back on the road.
There were a few final touches needed, including getting the tonneau cover fitted; the exhaust system needed replacing, and I wanted a genuine muffler. I couldn’t believe it when the first place I rang had two!
Over the project I found that you need to involve people that share your passion. The project cost me around $25K, which would have been less if I didn’t have to pay for some dodgy jobs.
Since completion I’ve entered it in shows, taking out ‘Best Original’, ‘Best Ute’ and ‘Holden of the Show’ awards. I recently entered the 2013 RACQ Motorfest in Brisbane and the car won ‘Best Classic 1940-1959’.
I love driving the FJ ute as it always gets the thumbs ups. People are always telling me stories of when they owned one or when a family member had one. Sometimes I’ve had generous offers to sell, but this old girl will be with me ’til the day I die.
I would like to thank my grandfather, Vic Moy, for his assistance and for passing down his knowledge.
FJ PARTS PRICES
stone guard set (pair)
$186.90
windscreen seal
$57.60
tailgate skin
$273.00
harmonic balancer
$107.25
rear universal joint
$125.00
reconditioned distributor (changeover)
$193.75
PARTS RESOURCES
rarespares.net.au
speedspares.net
abouttimespares.com.au
classicozwreck.com.au
*****
More reviews:
> Holden FJ Station Wagon review here
> 1953 Holden 48-215 RSL taxi review here
Search used:
>> Search Holden cars for sale
Unique Cars magazine Value Guides
Sell your car for free right here
.jpg)
Get your monthly fix of news, reviews and stories on the greatest cars and minds in the automotive world.
Subscribe