In the shed: Jaguar E-Type


|
|
|
|
|
|
|
|
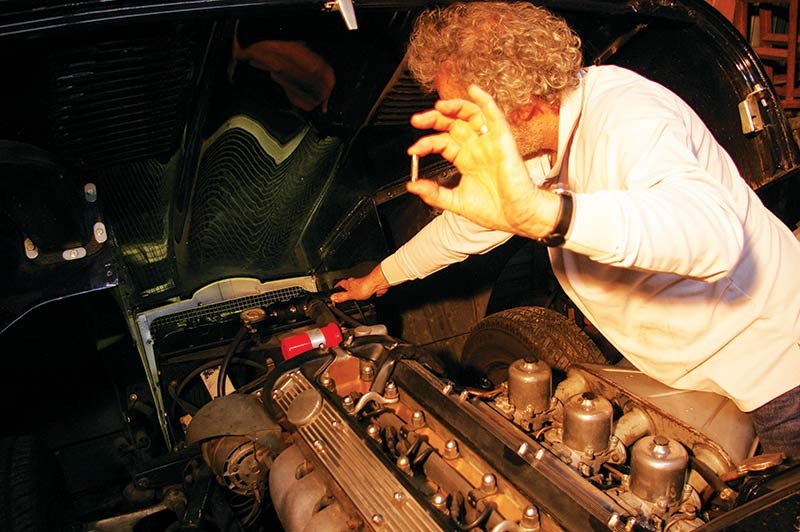
Jaguar E-Type wiring has its own subtle interpretation of logic, but our man Jon Faine eventually tracks down the fault of the overheating problem

|
|
Jaguar E-Type
|
Jaguar E-Type
The Jag overheated. I know, no surprises here. But why? Why this time was the white needle on the temperature gauge swinging around to where it is not supposed to be?
Last time this happened, it turned out the expansion bottle had rusted out. A simple explanation and a simple fix.
The time before, it had been the Otter switch and replacing one of those needed the digital dexterity of a squid.
We are talking E-Type here. As soon as the name is mentioned, parts prices double. But the Otter inhabits a burrow on the nose side of the radiator, just out of reach. It’s inaccessible unless you have extendable tentacles instead of fingers and I do not.
Access is achieved either by removing the bonnet – which takes two days to refit – or by applying baby oil to your torso and wriggling in.
Without being able to see what you are doing, you have to undo and then redo and tighten three little bolts that readily fall into the lattice sub frame as soon as you let go when mistakenly thinking the thread has taken.
That was last year. This time, even when the otter switch is bypassed the problem persists so the Otter gets to bask in its nest a little longer.
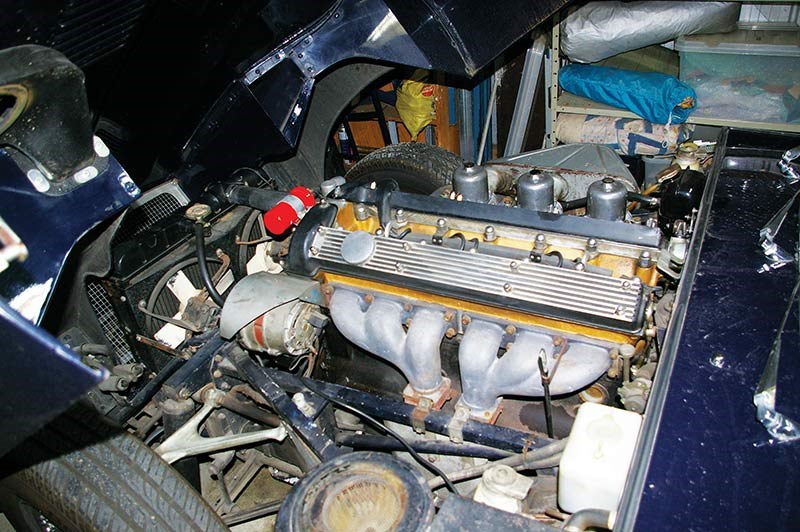
So where does the problem lie? There are no visible leaks. The water level is holding. The radiator was re-cored a few years back. The pump is pumping. But I quickly establish that the electric thermo fans are not cutting in.
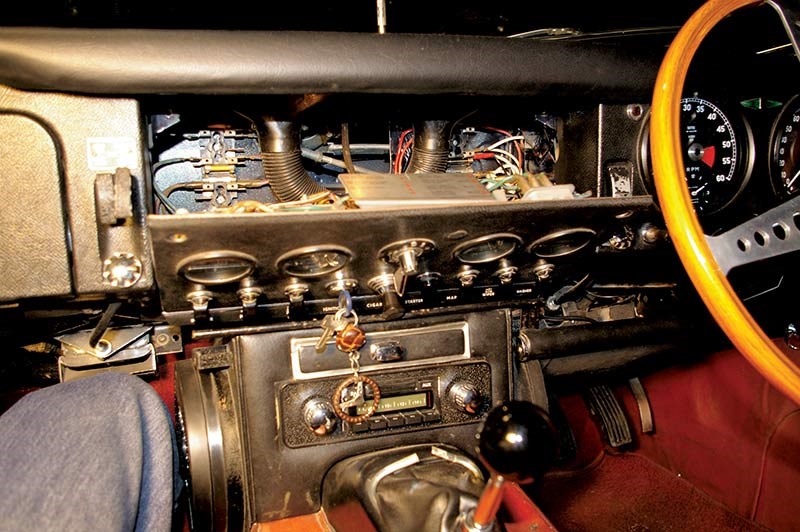
Genius idea – check fuses. E-Type fuses are cleverly mounted in a readily accessed rack behind the instrument panel. All are in fine shape and smile back upon being inspected.
Next light bulb moment is to check wiring loom for obvious visible break. Nil. Check every join, every plug, every connector. All a-okay.
Somewhere in the garage drawers lies a test light. After several cups of tea and curses, I decide it is time to pretend to adopt a system. I start my orderly process by running a bypass straight from battery to the fans. Eureka – they work.
Next I start tracing back from the fans to every connector, thinking at some point the loom will reveal where the problem lies. I get all the way back to the perfectly intact fuses without a problem. The fans work when current is started from the fuse. But the current does not pass the fuse. But the fuse is intact.
I glare at the fuses, then another light bulb moment. A fuse can look intact but be broken where you cannot see. Besides, they cost about five cents. Throw it out and try another one, even if it looks intact. I confidently insert a new fuse – no change.
After more staring and glaring, I remove all the fuses, check the fuse rack mountings and every set of clips. The problem reveals itself – the upper clip for the thermo fan fuse has lost its spring tension and is not gripping the fuse. Although the fuse is intact and sitting in place it is not actually passing current to the contacts.
Fuse holder reset – fuses re-inserted; ignition, choke, starter… idle for a few minutes, temperature gauge moves…. fans click in. The 5c fuse is exonerated and my inner auto electrician glows with pride. I go inside to declare victory. My wife looks suspicious and asks what I am doing in the shed that requires baby oil.
Unique Cars magazine Value Guides
Sell your car for free right here
.jpg)
Get your monthly fix of news, reviews and stories on the greatest cars and minds in the automotive world.
Subscribe